Abstract-Grunge Signature Tutorial
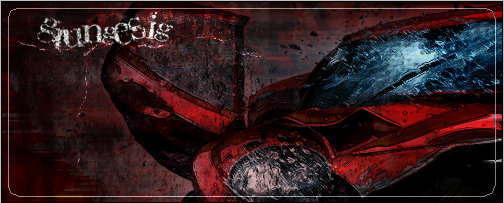
In this tutorial I am going to show you how to create a grungy yet abstract type of signature that will look like this:

To start off open a new document 500 x 300 pixels, resolution 300 and a White background.
1. Go to Filter > Render > Clouds. (Make sure your colors are set to default black/white).
2. Add a new layer and hit CTRL F to apply the clouds again, change the layer mode to overlay.
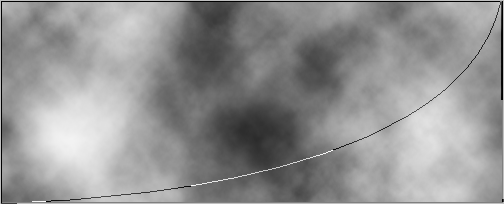
3. Take the pen tool and make a path, connect the path to make a triangle like this:
4. With the pen tool right click on the path and choose make selection. Click OK.
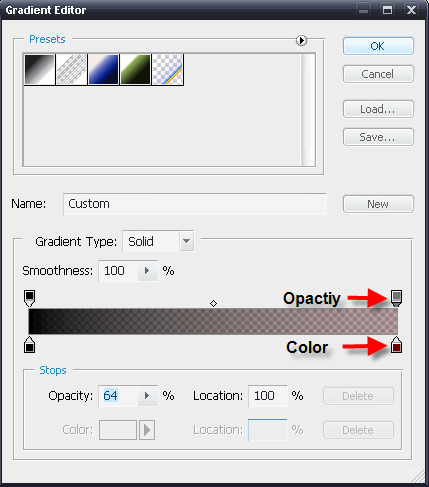
5. Get the gradient fill tool, and make the gradient from black to a dark red with the red opacity set to 64% like this:
6. Fill the selection with the gradient from the bottom right of the canvas to the middle. Set the layer to multiply.
7. CTRL Click on the layer to select it and then CTRL + SHIFT + I to inverse the selection.
8. With this selected create a new layer, go back to the gradient picker and choose a dark green to replace the red, keep everything else the same.
9. Once again fill the selection with the gradient from the top left to the middle. Set the layer to multiply.
10. Get the Rectangle Tool and make a rectangle the size of the document with a white fill. Go to Filter > Render > Fibers and use a variance of 21 and a strength of 24. Set the layer to multiply and bring the opacity down to 20%.
11. Next go to deviantart.com and search grunge brushes (get a nice looking set of brushes) I chose grunge brushes 3 and grunge brushes 4.
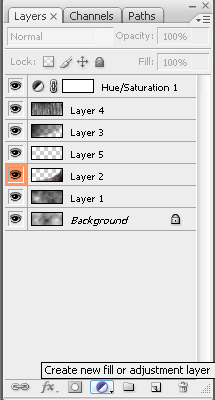
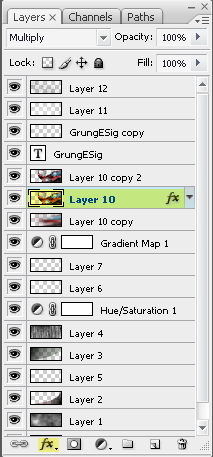
12. After you have some good brushes go to your layers palette and click the adjustment layer button (see below).
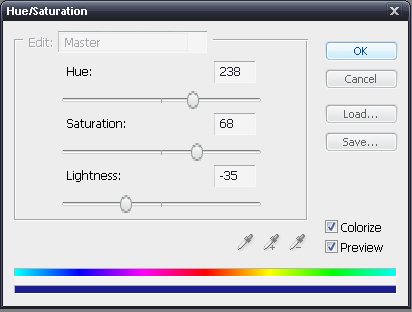
13. Choose hue/saturation adjustment layer and use these settings:
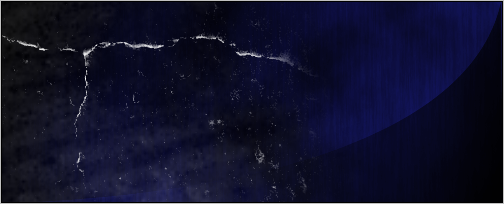
14. If you downloaded grunge brush 4 choose brush #368 and increase the size to about 862 then select a white color and put it on the left side. Set the opacity to 30% then select brush #430 and put it in the top left. You should be looking at something like this:
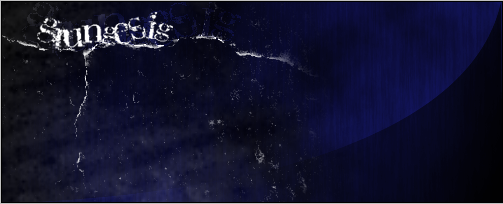
15. Next take your pen tool (make sure its set to path) and draw a path along the grunge line at the top, after this take the text tool and place it over the path then click and you will now be able to type on that path.
16. Take your grungiest looking text (in my case its called plaguedeath can also be found on deviant art) and write whatever you want for the sake of the tutorial I wrote “grungesig“. Now set the layer to overlay. Press CTRL J to duplicate the text layer. With the copied layer go to Layer > Rasterize > Text. Press CTRL T and scale the text down so that you’re able to see the other text in the background something like this:
17. Next go back to your new adjustment layer button in the layer palette and choose a gradient map adjustment layer, choose a bloody red as the first color and a black as the second for the gradient click ok.
18. Next take this picture:
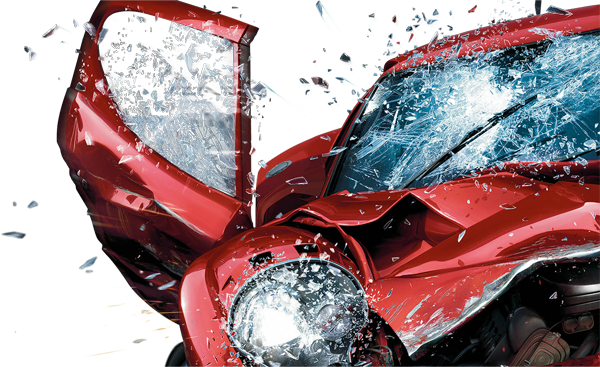
19. Place it like so:
20. Set the layer to multiply and then (CTRL J) to duplicate the layer, go to Filter > Blur > Motion blur with an angle of 0 degrees and a distance of 188 pixels.
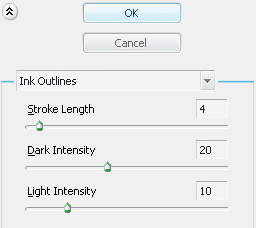
21. Duplicate the (original car) layer and set the layer to overlay, then go to Filter > Ink > Outlines and use these settings:
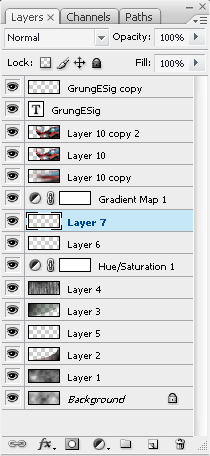
22. After this take your text layers and bring them on top of all the layers, your layers should look like this:
23. Create a new layer, Take brush 473 increase the size to 764 select a white color and brush covering more of the left than the right. Set the layer to color dodge and the opacity to 24%.
24. Create another new layer, take brush 517 and change the color to black then brush like this:
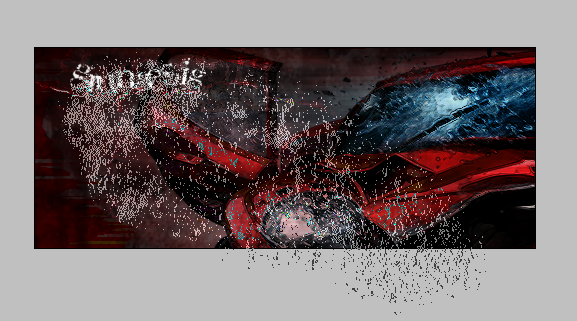
25. Brush it so it covers the text with black specks.
26. Next go back to layer 10 and go to layer effects and choose an outer glow with these options:

27. Create a new layer and select the rounded rectangle tool, make sure its on paths and not fill pixels, then make a rectangle like this:
28. Right click on the rectangle and select make selection, click OK. Now you have a selection press CTRL + SHIFT + I to inverse the selection. You now have the outline of a border. Select the gradient tool and make a gradient like this:
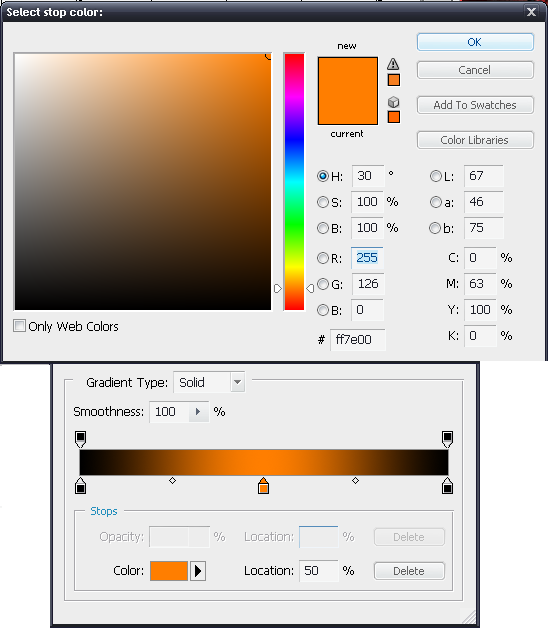
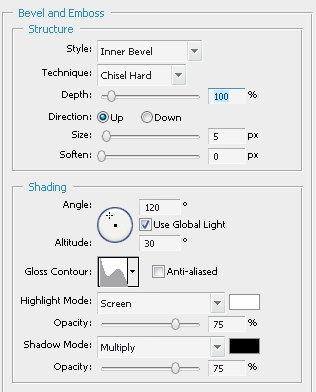
29. Press OK then take the gradient line from the left side to the right side. Click the layer effects menu and press bevel and emboss. Use these settings:
Now you should have something that looks like this: