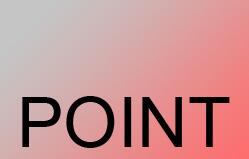
Start by applying a gradient to the background.

Type text in a new layer.
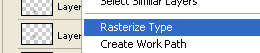
Right click the layer and select rasterize.
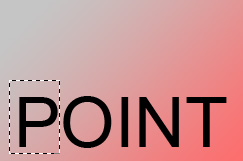
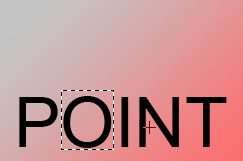
Using rectangular marquee tool create a selection over “P”. Press Ctrl+Shift+J to cut and paste the selection in a new layer.
Similarly cut & paste all the alphabets.
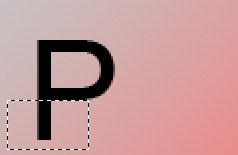
Hide all alphabets except “P”.

Select lower portion of “P” using rectangular marquee tool. Press Ctrl+Alt+J to cut and paste the selection in a new layer.
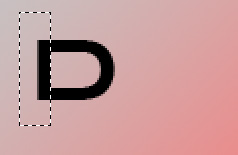
Similarly split the other parts of “P” in separate layers.

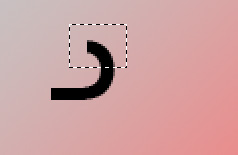

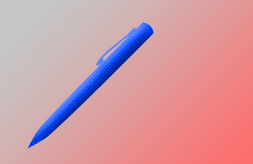
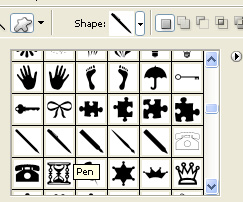
Create a pen using custom shape tool.
Split the other alphabets in separate layers similarly.
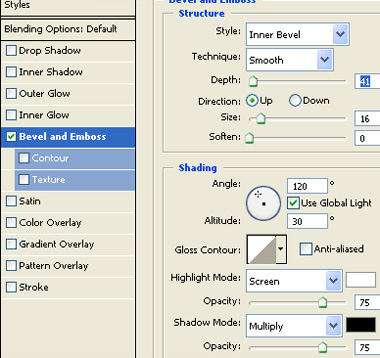
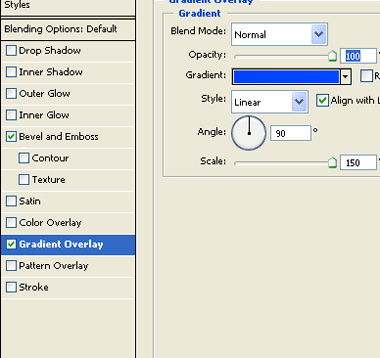
Double click the pen layer to open layer style window. Apply layer style with the settings shown.
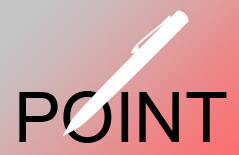
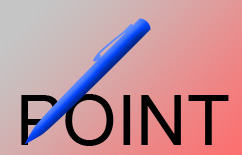
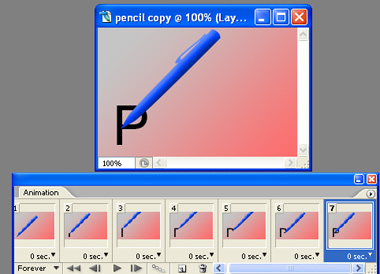
 Place it at the bottom of first letter “P” as shown in the image below.
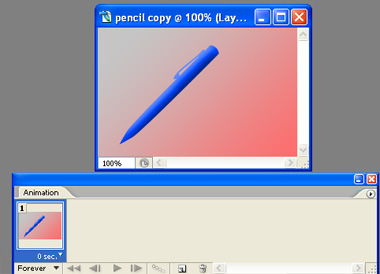
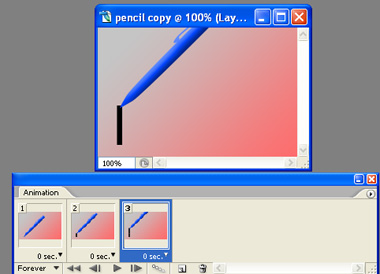
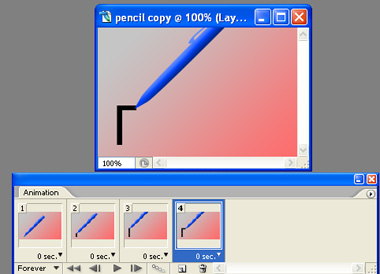
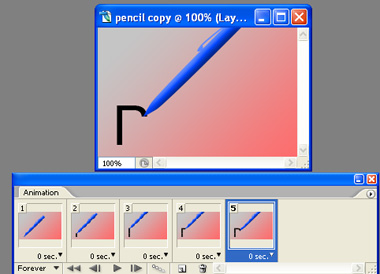
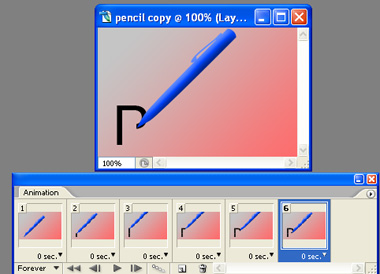
Open animation window. For the first frame hide all text.
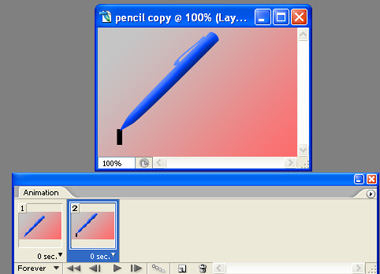
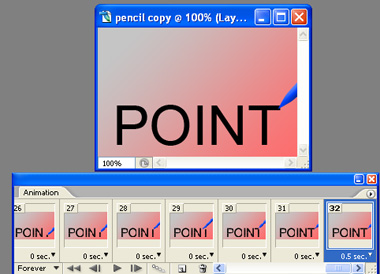
Duplicate frame. Move the pen along with the flow of the text and keep unhiding the alphabet’s parts as you move ahead.
Duplicate the layer and scale it up.

Adjust delay duration of the frames as per your speed requirement.
Press Ctrl+Alt+Shift+S to save an optimized animated GIF.