Creating Grunge Brushes
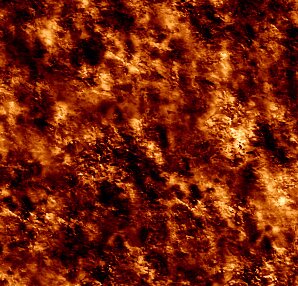
In this tutorial I’m going to teach you how to create grunge brushes, as shown below. You don’t need any downloads just the eraser and the brush tool.
So let’s get started.
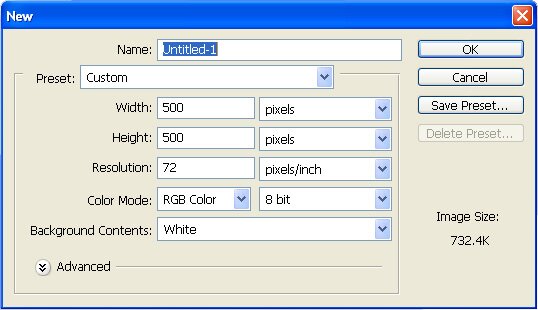
Open up a document (File>New) and apply these settings:
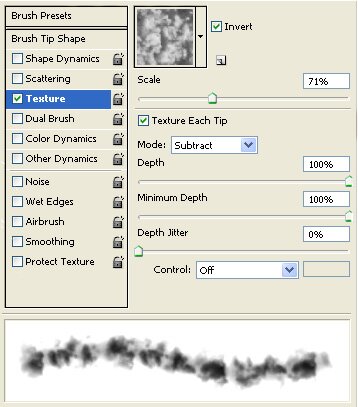
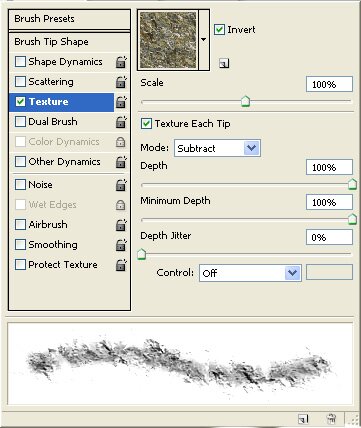
Now we’re going to use the soft brush tool at “100 pxl” in size. Select that, and select black (#000000) as your Foreground color. Now click the “Brush” tab up in the top left and then apply these settings:
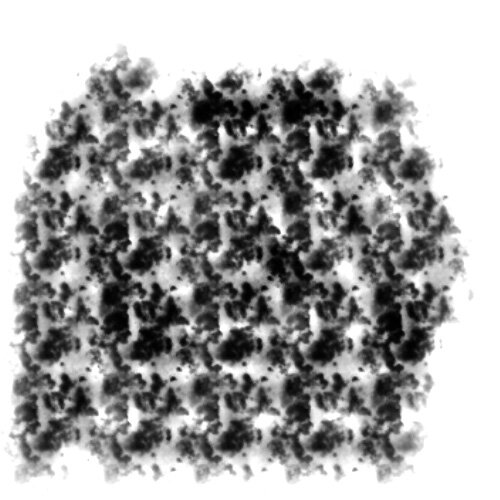
Create a new layer and we are just going to brush slowly until we get something like this:
Now you’ve got to open up your eraser and once again select the soft brush. Apply these settings:
Now erase small parts of this until you get a texture like this:
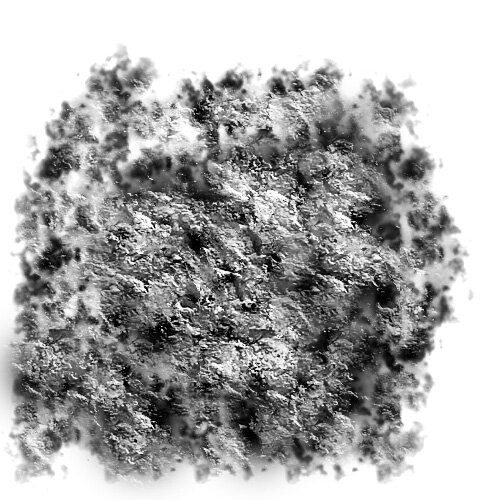
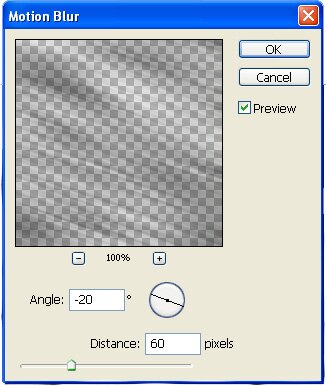
As long as you have a small part of the whole thing that you like then that’s ok, that may take a while but it is the most important part of this tutorial. We are now going to add a small blur, so duplicate your current layer and apply the motion blur filter (Filter>>Blur>>Motion Blur) and use these settings:
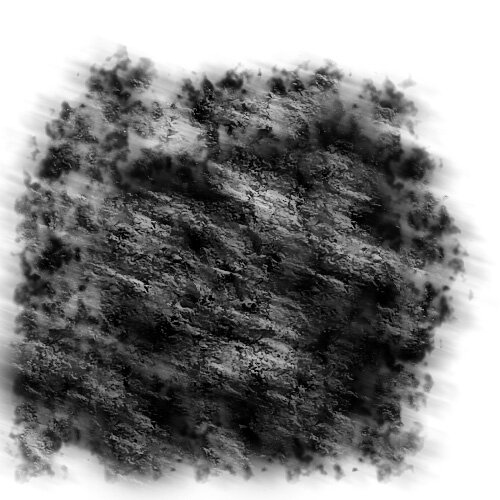
You should get something like this:
Now make a selection around the best part of your brush using the lasso tool ( ):
):
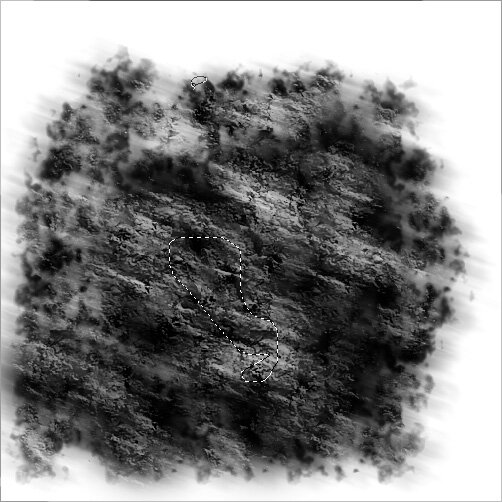
Now set it to feather at “10pxl” (Select>>Feather). You should get this:

Now press Edit>>Define Brush Preset, and you are done! You may repeat the 3 steps above as many times as you want. Play about with the brushes, This was my result:
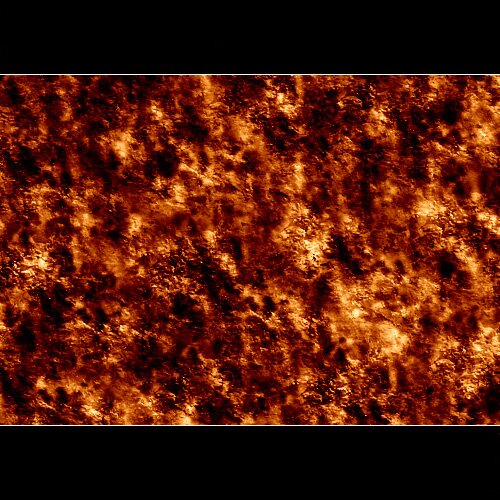
This is a much more satisfying way of creating graphic design as the art is 100% your work.
I hope you have enjoyed this tutorial and your graphic.