Graffiti / Cartoon Text Effect
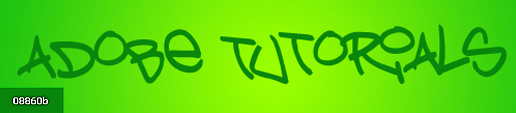
In this tutorial we will be making this:

Now let’s get to work. Open up Photoshop.
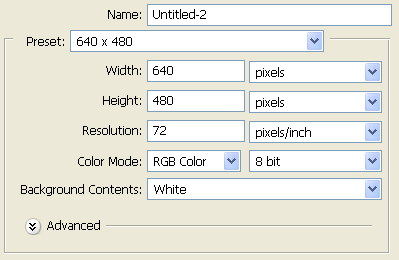
Make a new document or canvas by clicking on File > New. The settings depend on how big you want your text to look. I used these settings:
Now make a new layer called “bg“. Press CTRL+A which selects the whole canvas and then press ALT+Backspace which fills the canvas with your Foreground Color. Now press CTRL+D to deselect the selection.
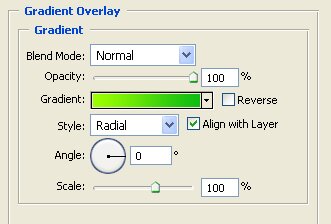
In the layer’s pallete, right click on the “bg” layer, click on Blending Options, check the box for Gradient Overlay. Now we will play around with the settings. It’s up to you with the colors and the shape but I wanted a part in the middle a little lighter than on the outside. This is what I came up with:
Now get your text tool and put what ever text you want in the middle of the canvas. Make sure you use a cartoon or graffiti looking font so it looks a little crazy. The font I used is called “Bring Tha Noize“. Right click on the text’s layer and click on Blending Options. Now select Color Overlay and put what ever color matches with your background. Don’t worry too much if you can’t really see it that much because we are going to put something behind it.
Make sure you select the Pen tool and on the top these options are selected:

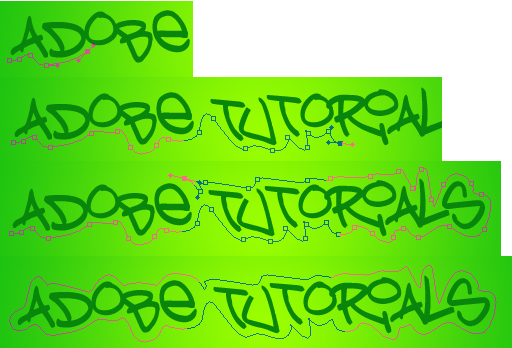
Now this is the hardest part in the whole tutorial. Get your pen tool and start going around the letters with it, make it look smooth. Zoom in a little if it helps you. Seriously guys!!! It doesn’t have to go around perfectly, just make sure it doesn’t go under the text. Here are a few shots of how it was coming out for me:
Now press CTRL+SHIFT+N which makes a new layer and name the layer “textbg“. Now with the pen tool on, right click anywhere in the canvas and click on Make Selection. Make sure the feather is set to 0 and press OK. Now press ALT+Backspace which fills in your selection and then press CTRL+D. Move the layer “textbg” under your text layer.
Let’s add some color to this layer by right clicking on the layer and clicking on Blending Options and then select Color Overlay. Play around with the colors and see what you like. I added a stroke too to make it look a little bit cooler. This is how mine came out:

There is many effects that you can add now, but I’ll show you my favorite one which is the 3D look. Right click on the “textbg” layer and click on duplicate layer. Now move that layer under “textbg“. Right click on it and click on Blending Options. Play around a bit with the settings like always and come up with something nice. I put a little shadow so it could stand out of the background.
That’s about it guys! I really hope you liked the tutorial and that you like the effect.