Abstract Style Poster
Introduction:
In this tutorial I will be teaching you how to make a Cool Abstract Poster. A preview of the final result can be seen below:

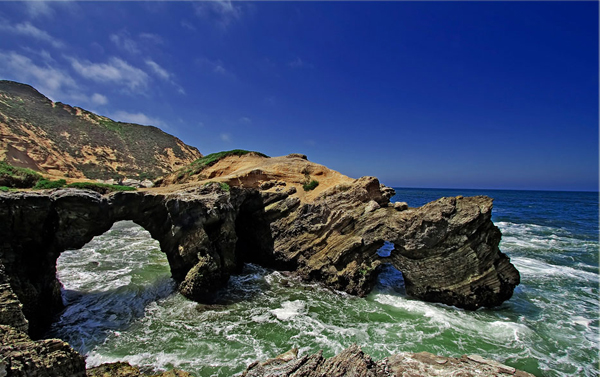
Step 2: Finding Your PictureFirst of all you will need to find a half decent picture you can work on. I would suggest finding a scenic picture. I found this nice picture of an ocean shore-line with some huge rocks. This will set the basis of your poster.
Step 3: Adding The People
Now we need some half decent pictures of people so we can cut them out. You can find a picture of a person and cut them out or use brushes/custom shapes. Both will work and give you the same great detail. I will be using the picture below:

Now you can use the ‘Magic Wand Tool‘ or the ‘Pen Tool‘ to cut your person out. Once you’re done cutting your person out you should have your main object (filled in with black) on a white background. My result is below:

Do this with a few other pictures so you have at least 3 silhouettes of people. Now place your silhouettes anywhere on the Main Picture.
Step 4: Adding The Bursts
Now we’re going to add the blue bursts. You can do this using many different tools but I used the pen tool. Get your pen tool and make some selections (in different layers) like I did and color them in with blue. You can bring the opacity down so the bursts blend in with the sky. Once you’ve made those bursts you have to erase around the rock so it looks like the bursts are behind the rock. This will give a nice effect to the poster. This is what I came up with before I erased:

Step 5: Adding The Circles
Get out your ‘Elliptical Tool‘ and make a few circles on the main picture like I did. Change the opacity of some of circle to blend with the sky. Now add the people silhouettes you made in Step 3 and you are done! You’ve got your new Abstract Style Poster!
