Glossy Web 2.0 Button
Learn how to make a nice Web 2.0 style Glossy Button using Layer Styles, also how to make a rollover.
1. Make a rectangle with the Rounded Rectangle Tool (any color) and right click and Rasterize it.
Learn how to make a nice Web 2.0 style Glossy Button using Layer Styles, also how to make a rollover.
1. Make a rectangle with the Rounded Rectangle Tool (any color) and right click and Rasterize it.
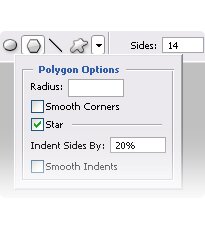
Make a good looking Web 2.0 style Badge, in a easy way using the Polygon Tool and some Layer Styles.
1. Create a Badge using the Polygon Tool.
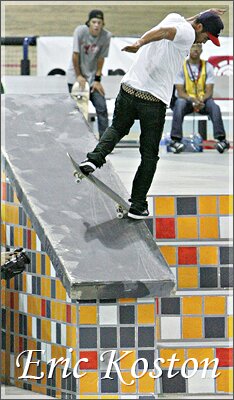
You will be learning how to create an iPod classic but also you can use the same technique to make an iPod nano.
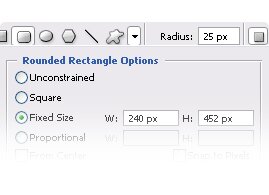
1. Start by opening a new file: 300*540 px.
2. Make a rectangle with the Rounded Rectangle Tool, using fixed size: 270*452 px and 25 px for Radius.
In this tutorial you will learn how to recreate a city from an aerial perspective view. Below is a preview of the result.

Step 1:
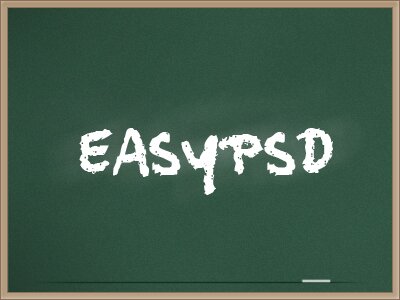
As you can see above, that is the chalkboard design that I’ll be demonstrating how to create. You will be creating a chalkboard background, realistic board like on most chalkboards now-a-days, and some chalk text. First and for most, create a new document and size it at 400×300 pixels with a transparent background.
Step 1:
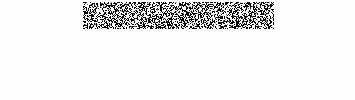
Lets start by filling the background with FFFFFF (white). Now, create a new layer and select a small rectange like in the pic above. Fill this in with white as well. Now go to Filter> Noise> Add Noise. For the amount I chose 400%. Distribution should be set to Uniform. Make sure the box below is checked for Monochromatic.
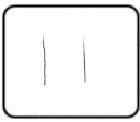
Step 1:
Draw a couple of squiggly vertical lines making sure you leave the one on the left longer than the one on the right.