Black Sleek Website Navigation
In this tutorial I will show you how to create a sleek website navigation as the preview shown below:

Start off by creating a New Document (File > New) with the dimensions of 800X100 pixels

Fill the background with White (#FFFFFF)
Make a black rectangle stretching to each side of the canvas

Press Ctrl+Shift+N to get a New Layer. Make a selection that is half the width of your black rectangle fill it with white and set the layer opacity to 15%

On a New Layer draw a 1 pixel thick line across the black box like seen below. Set this layers opacity to “15%”

On a new layer make a thing rectangle selection and fill this box with grey (c6c6c6).

For the Grey rectangle, open your ‘Blending Options‘ and add Drop Shadow.

You should have something like this:

On another new layer draw a 7 pixel thick line across the canvas.

For the black line add the following style:

Set the black line’s Layer Opacity to 22%

Add text for your link in White (#FFFFFF). I chose the font ‘Vogel‘.

Go to the Blending Options for your text and add a Stroke.

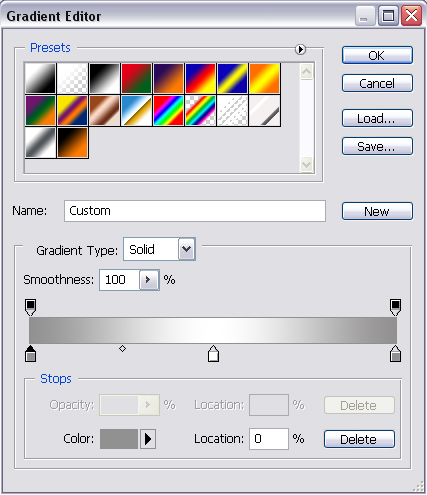
Add a Gradient to your text.

You should have something like this by now:

You are now done! This was my final outcome:
