Casting Realistic Shadows
In this tutorial I will teach you how to cast a realistic shadow that will top off your picture perfectly.

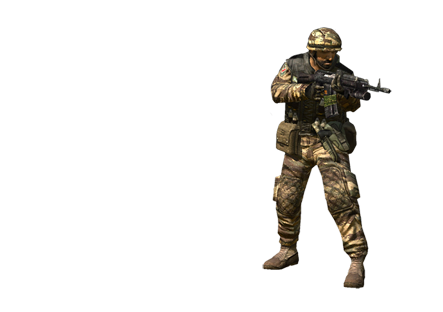
To start find a picture you would like to add a shadow too. For this tutorial I will be using this picture:
Now take your render layer and duplicate it by dragging it over the New Layer button. Now your layer’s palette should look like this:

Now take your copy layer go to Image > Adjustments > Hue/Saturation, or just press Ctrl- Hue. Then set the Lightness on -100. Now you picture should look like this:

Now go to Edit > Transform > Distort. And take the top middle dot and drag it down like so:

Now your shadow should look something like this:

So now we have our basic shadow. But it’s time to edit it to make it look realistic. Go to Filter > Blur > Gaussian Blur. Use these settings:

Now go to your layers palette and lower the opacity of your layer anywhere between 85% – 95%. Just see what looks best for you. I used 91%.
Now go to layers palette again and add a quick mask to your shadow layer. Then apply this gradient to it.

Now you have your gradient settings lined up so take your gradient click and drag it like this:

Now if you applied the gradient correctly you should have something like this:

And congratulations! You have finished my tutorial on how to cast a shadow! Now you can create shadows on anything. Enjoy!