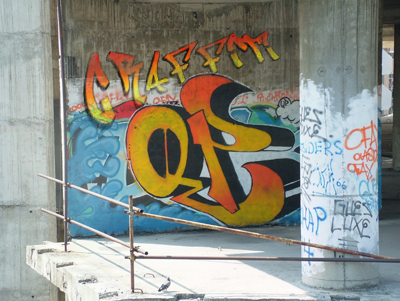
Creating and Implementing Graffiti
In this tutorial I will teach you how to create your own graffiti text. I will also teach you how to apply that graffiti text to a picture and make it look realistic.

To start out open a picture you would like to apply your graffiti to. I will be suing this stock picture:

Now that we have our stock open up a new document, this is where we will create our text. Now write out whatever you want to turn into graffiti. I used the font “Graffiti “ from dafont.com.

Now go to blending options and apply this setting.

Now you should have something like this:

Now make a new layer and Ctrl- click on your text layer. Now take your new layer and put it underneath your text layer. Then go to Select > Modify > Expand and expand by: 3
Once you have your selection expanded fill in your selection. You should now have something like this:

Now make sure your text layer is selected in the layers palette. Now using your arrows pad nudge your text over move it like this:
Left, Left, Down.
You should have something like this now:

Now take all of your graffiti layers and merge them together. Now drag that merged layer over to your new document. Now take your graffiti layer and duplicate it. Then set it on Color Dodge, and merge it together with your other graffiti layer.

Now using the warp and distort tool resize and edit your graffiti so it looks something like this:

Now using grunge brushes and fractal brushes on a low opacity just erase little bits of your graffiti until you have something like this:

Doing that should give it a weathered feeling to make it look like it’s been there for awhile.
Congratualtions! You have finished my tut on how to make graffiti.