Design an Enlightened Hearts Wallpaper
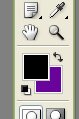
Start by creating a new file. Select black as foreground and purple as background color.
From filter menu select “Render>>Difference Clouds”.

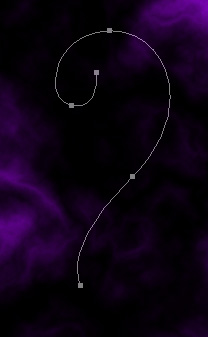
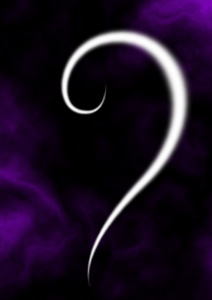
Create half heart shape using pen tool in path mode.
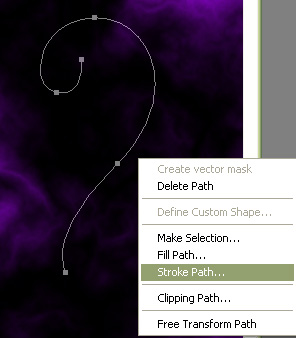
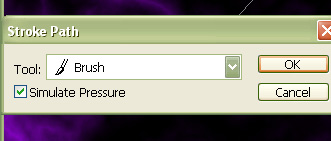
Create a new layer. Select brush tool with feathered brush settings. Select the path using path selection tool. Right click and select “Stroke Path”.
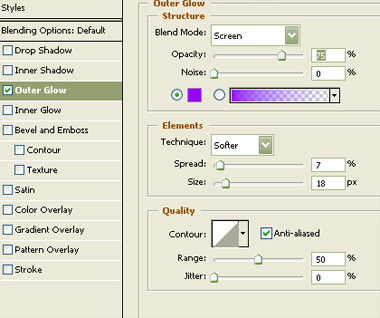
Apply settings as shown.
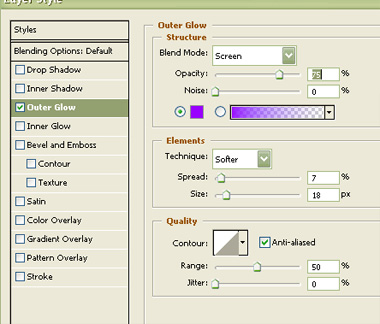
Double click the layer to open layer style window. Apply settings as shown.

Similarly create rest of the heart shape.

Select both the layers. Press Ctrl+T. Right Click and select distort. Adjust the nodes to get the shape as shown.

Using same techniques create another heart shape using thinner brush.

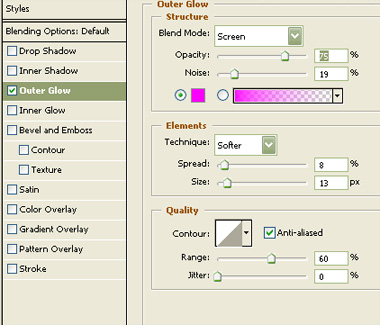
Double click the layer to open layer style window. Apply settings as shown.

Select and merge all the heart layers. Duplicate, scale down, and place as shown. Using eraser tool remove one of the overlapping portions to simulate entangled hearts. Duplicate several times, scale down, rotate and place as shown.

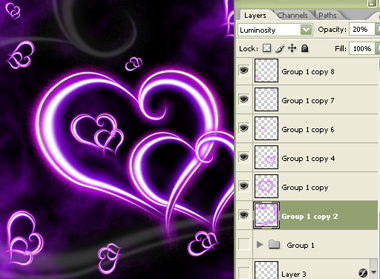
Create another duplicate scale up, rotate and place as shown. Change the layer mode to “Luminosity” and opacity to 20%.
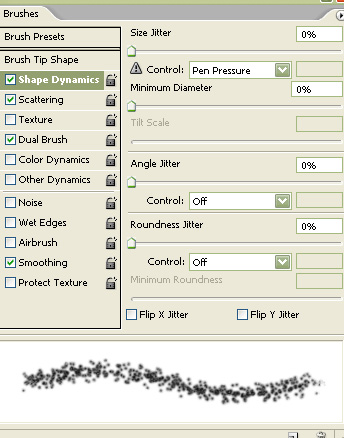
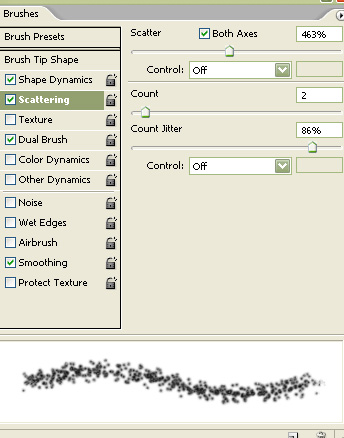
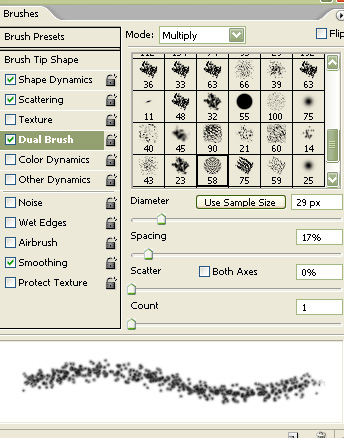
Create a new layer. Select brush tool. Press F5 to open brush settings. Apply brush settings as shown.
Select white as foreground color. Apply strokes as shown in the image below.

Double click the layer to open layer style window. Apply settings as shown.