Design Stylish Wooden Tabs for Your Website
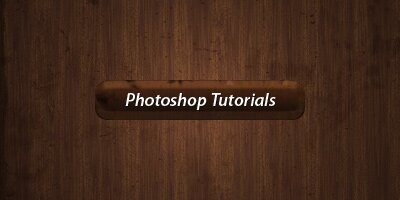
In this easy, step-by-step Photoshop tutorial I’m going to be showing you how to design some nice, wooden tabs (navigation buttons) for your website. Similar to the ones shown in the below image:
1. New Document, Background Design
Alright, let’s get started here by creating a new document in Photoshop. For this tutorial, I’m going to use a relatively small document size of 400 x 400 pixels, but you can use whatever you want really. After creating my new document, I filled the background with a nice pattern/texture. You can download it from here.
After filling my document canvas with this texture, I then applied Filter > Render > Lighting Effects with the Omni light type. I finished off the background by adding in a little bit of grunge. You can find a few good places to download free brushes at PhotoshopStar – Free Brush Resources.

2. Creating your Button Shape
Alright, time to start your button. There’s two ways you can make a round cornered rectangle, you can either use the Rounded Rectangle Tool (the easiest by far) or if you’re more intermediate with Photoshop, you can use the channels to create a perfectly round-edged rectangle! I used channels to make my button in this case, but there’s definitely nothing wrong with the rounded rectangle tool.
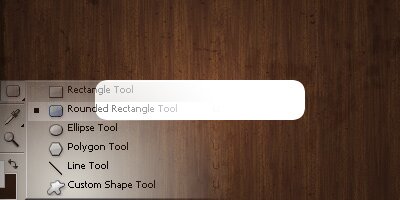
You want to be sure you’re using similar settings as mine shown bellow, especially when it comes to those 3 icons up the top left.

Alright, you’re done for the shape, good job. If you didn’t manage to make the rounded button, just use the rectangular marquee tool to make a selection on your canvas then fill it with a plain color.
3. Giving your Button Effect (Layer Styles)
Alright, now it’s time to give your button some character – let’s apply some layer styles. So, right-click your button layer in the layer’s palette and go to the Blending Options, apply the following settings:
- Bevel and Emboss
- Bevel and Emboss — Contour
- Bevel and Emboss — Texture (note that the pattern used isn’t very important, just use anything)
- Gradient Overlay
- Pattern Overlay (download pattern file used here)
And now your button should look pretty much like this one:
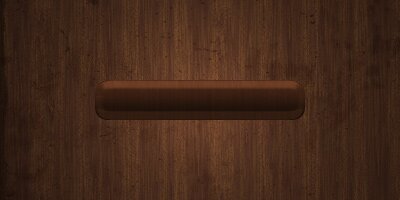
With the layer styles, you can of course feel free to experiment with different settings, see if you can come up with anything nicer than what I’ve made!
4. Detailing your Button
Time to give your button a few extra details. I think, for detailing I’m going to add in a little bit of brushing above the button. Start by creating a new layer, then selecting your button layer’s pixels (hold ctrl and click the layer thumbnail)
After you’ve made your new layer, brush once or twice inside of your button selection, using any color. Lower the opacity if you think it’s too dark.
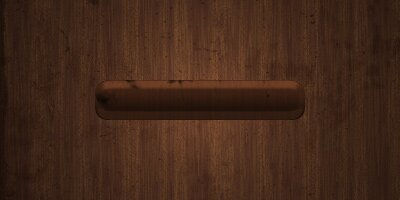
I then gave it a little bit more texture by blending in a random pattern into the tab. Blending as in, erasing with a grunge brush, changing layer mode to Soft Light then lowering the opacity if necessary. This is what I’ve come up with:
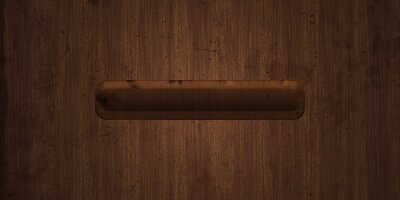
Alright, not bad! Anything else you want to add? How about some text!
Finish off by Adding Text
Start by getting out the Horizontal Type Tool (just the text tool) and writing down your button text.
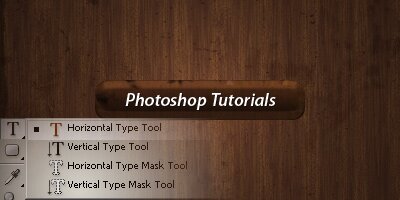
In the above image I’ve used the font called Myriad Pro, SemiBold Italic, 18 pt, but if you don’t have the font, you can either use a default font that comes with your Operating System, or download a free font from one of the following:
I believe it’s best if you use a Sans Serif font in this case though. After writing out your text, you might want to apply this Drop Shadow to the text layer, to make it stand out a little better.

Hmm, I think we’re pretty much done for this tutorial! Well, thanks very much for reading everyone, I hope you enjoyed it! If you need anything from this tutorial, you can download the PSD for free from here: Stylish Wooden Tabs PSD (900kb)