Flying Birds Digital Art Illustration
In this tutorial I will teach you a couple of techniques you can use to learn how to create a Flying Birds Illustration with Adobe Photoshop, as shown below:

First start off by creating a new Photoshop document by the size of 500 x 500. Fill that background with White (#FFFFFF). This will be the base for the clouds we’re going to create as the real background. I downloaded some cloud brushes by deviantART artist JavierZhX, which can be found HERE. After you install those, grab a nice brush that you like from the set, set your foreground color to a nice blue (#006E85) and create a stroke that covers most of the canvas, as shown below:

Now duplicate the clouds brush layer, go to Filter > Blur > Gaussian Blur and apply a blur of about 2.0 – 2.5. Set this layer’s mode to ‘Overlay‘. Your image should now look like this:

Then I went on to Google Images to try to find an image of some flying birds that I could add so they can fit nicely with my clouds background. I found THIS image, which shows three birds flying. I cut the birds out, and resized them a bit. I added the birds to my clouds background and you should have something similar to this:
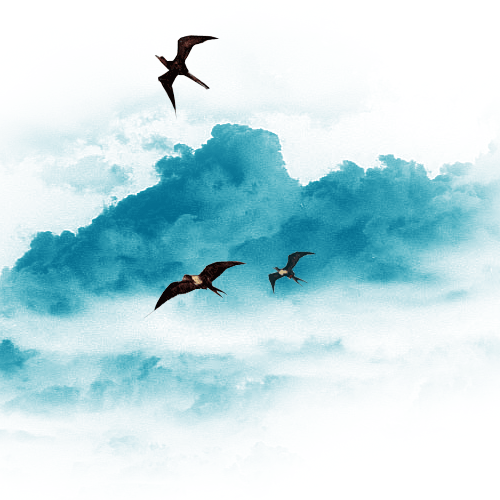
Note that you can mess around with the bird’s opacity and other things to make them look more into the distance and other effects.
Now let’s add some smooth blue text to finish off our piece. Your text should always fit nicely with the theme you have going on. Since we had a flying birds illustration, we should probably add a smooth rounded text. I picked the text ‘MyriadPro’ a slightly italic text that will go nicely with the theme. I added this font in a nice blue color (#006E85). You should have something like this:

Now since the text kind of interferes with the background that is also blue, I always like to add a text background layer. In which I add a white rounded rectangle that just overlaps the text, but this layer goes behind the text. You should achieve something like this:

And you are done! The Flying Birds Illustration is finally done!