Gothic Makeover in Photoshop
Do you remember when Killing Joke sang ‘eighties, I’m living in the eighties’? No, probably not. Only if you are as old as I am. Being a Goth in England in the 80s was a great time. All that hair. Black hair. And piercings before they were a fashion a accessory. Anyhow, those days are long gone (as you will see in the image in step 1), but I think it’s time to bring them back, albeit digitally. So when you’re ready, let’s start the Gothic makeover.
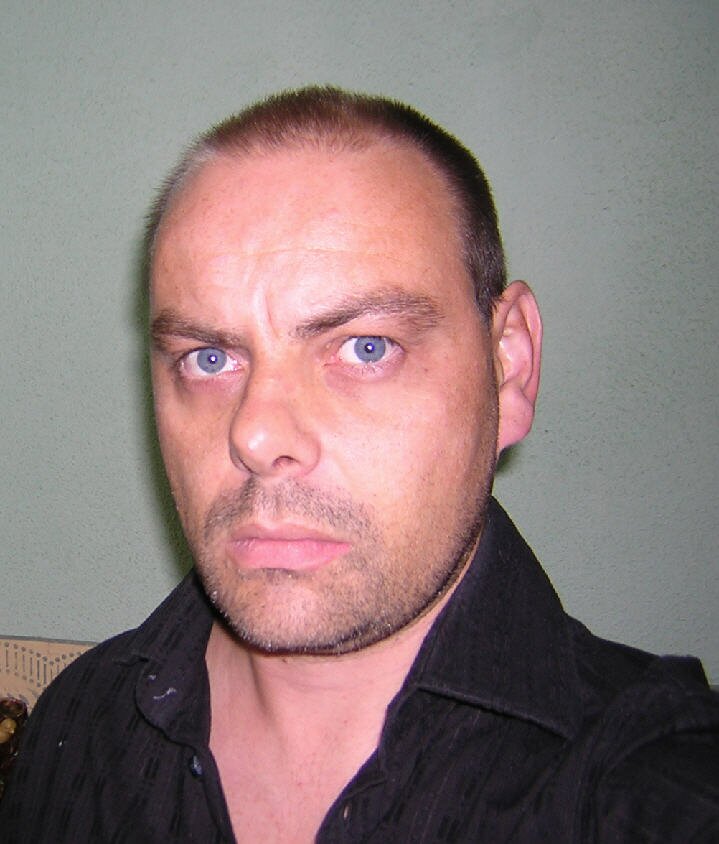
Step 1
CRTL+O to open your photo in P’shop. If you take a shot specifically for this, make sure it’s at a high resolution and you don’t cut the head off.
Step 2
Our first job is to smooth the skin, as we all wore make up back in the day. Even to go and sign on. My skin now has too much of a reddish hue, so CRTL+U to bring up the Hue/Saturation screen. Click the drop down menu at the top and select RED. Then bring the saturation down. Oh yeah! That’s better. Nice and palid.

Step 3
No it’s not finished! I wan to smooth the skin but I don’t want to worry about contaminating the other parts. So to do this we use the quick mask tool. Hit ‘Q’ then ‘B’ for the brush tool. Paint over the parts you don’t want to be effected. When you’re done hit ‘Q’ again to get the skin selected.

Step 4
Now that we have the face selected we can concentrate on the skin. For bigger blemishes you can use the ‘Clone Stamp’ tool. Hit ‘S’ while holding down the ALT key to cycle through the three tools under ‘S’. Lower the Opacity to something like 25% so the changes aren’t too harsh. Now do the same with the Blur tool. ALT+R to cycle through the tools again.

Step 5
CRTL+J to copy and paste our selection to a new layer. Change the blend mode to ‘Screen’ and lower the opacity to around 50%. Now take the ‘Color Burn’ tool (ALT+O to cycle) and lower the exposure to 8%. With a big, soft brush ‘paint’ under the eyes and cheekbones (as if I have any!).

Step 6
Now for some make up. You need a steady hand for this, especially if you are working with a mouse. Make a new layer and change the blend mode to Linear burn. Lower the opacity to 70% and take the brush tool. Choose a color you like and carefully paint around the eyes.

Step 7
Do the same with the lipstick.

Step 8
Hit SHIFT+CRTL+E to merge all the visible layers, then take the Color Burn tool again and give it some more to the eyes, cheeks bones, etc.

Step 9
Now for the all important hair. There are lots of ways of making it, but I’m going to show you a pretty easy way. First, we’ll need to get some custom hair brushes. The best place to get these (for free!) is deviantart.com. If you do use any of the brushes from there though, pay particular attention to the creator’s rules. I’ve used the hair brushes from http://stock-of-beauty.deviantart.com/art/Hair-Brushes-set-2-28388847
Download the ones you like to your Photoshop\presets\brushes folder. Now back in Photoshop hit ‘B’ for the brush tool again then click the little black triangle at the top.

Step 10
When the menu drops down, click the other little triangle to get even more options. Look for ‘Load brushes’.

Step 11
Navigate to the brushes folder and find the .abr file you just downloaded. Click ok and it will be added to your brush list.

Step 12
Choose one of the hair brushes and make a new layer. On the right hand side at the top you should see some tabs. Click ‘brushes’ or hit F5 and you will get a whole host of extra brush options. We can change the size of the brush, flip it, even rotate it.

Step 13
Alright, on the new layer position the brush where you want it and click once. Now flip it and position it on the other side. Don’t worry about the bits covering the face – we’ll deal with those later.

Step 14
Once you have all the hair around the head done, add a mask by clicking on the icon circled in red. Choose a small round brush. You’ll see that you can only paint in black or white. Black ‘erases’ the hair, white brings back what you have previously gotten rid of.

Step 15
Now make a new layer and add hair to the inside. That done, repeat step 14.

Step 16
CRTL+E to merge the two hair layers, and crate a new layer. ALT+M to cycle through the selection tools, until you get to the elliptical tool. Zoom in on the nose and SHIFT+ drag to create a circle.

Step 17
Now go Select>Modify>Border. I added a value of 5 but it depends on how thick you want the ring to be.

Step 18
Now hit SHIFT+F5 to bring up the Fill screen. Choose 50% Grey.

Step 19
We now need to distort the ring. CRTL+D to get rid of the selection, then CRTL+T to enter transform mode. Right click and choose ‘Distort’. Drag the top left corner inwards a bit and the bottom left corner outwards. This takes a bit of practice to get right, just don’t forget CRTL+Z to undo.

Step 20
Now add a layer style and choose ‘Bevel and Emboss’. Click the little graphic next to Gloss Contour and when the new screen pops up, move the diagonal line to like in the image below:

Step 21
That done, all we need do now is add a layer mask and erase the pieces that shouldn’t show. You can also take the Color Burn tool and darken the skin where the hole is.

Step 22
Zoom I one an eye and hit ‘Q’ for the quick mask mode. Paint over the eye:

Step 23
When done, hit ‘Q’ again and then CRTL+SHIFT+ I to invert the selection. CRTL+J to copy and paste the eye to a new layer, then CRTL+U to bring up the Hue/saturation screen. Check the ‘Colorize’ box and give it any color you want. Lastly, play around with the blend modes. Here I chose ‘Vivid Light’.

Step 24
And that’s all there is to it!
