Smudge Tutorial
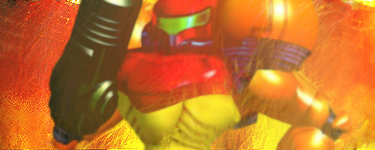
In this tutorial I am going to teach you the basics of smudging and filtering. The final outcome will look like this: 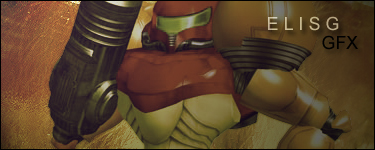
Start off by opening a new document (file>>>new) and set the size to 375×150. Now get a psd(available at sites such as psdprotocol.com) and put it into the center of your signature. Duplicate this twice and fill the entire space with the two cuts.
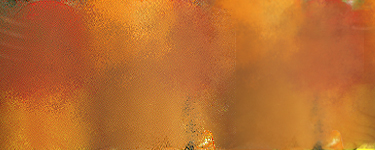
Now duplicate the front layer. Hide the layer behind the new front layer, select the chalk brush, and set these settings: Shape Dynamics: Size Jitter- 48% Control– Pen Pressure Angle Jitter- 100% Control– off Roundness Jitter- 0% Control– off Flip X and Y both unchecked Scattering: Scatter- 260%(both axes unchecked) Count- 1 Count Jitter-7% Control– Off Smudge around until you get something like this:
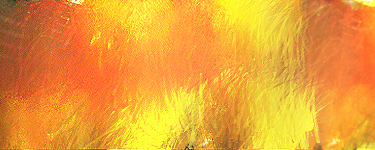
Now duplicate the main render again and select the smudge tool with the grass brush(same settings as the chalk brush) and smudge the render again. Set this layer to color dodge and sharpen it twice.
Duplicate the render again, and grab the leaf brush, smudge it and set it too vivid light at 40% opacity.
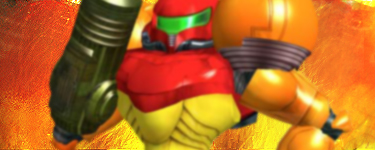
Now duplicate the main cut and set the new main cut to lighten and gaussion blur the old one 0.9% to give it a glossy look.
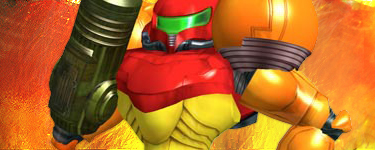
Now add a border, a few gradient maps and some text. And you are done.
Hope you created a nice graphic and maybe even learned a thing or two.