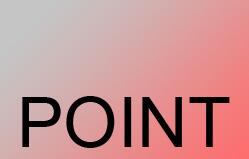
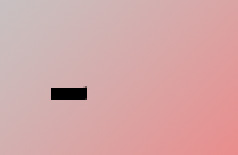
Start by applying a gradient to the background.
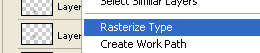
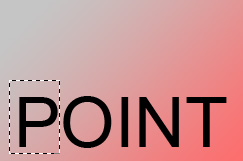
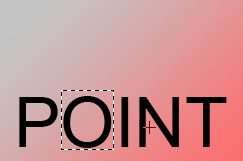
Type text in a new layer.
![](https://www.avivadirectory.com/photoshop/images/point_02.jpg)
Right click the layer and select rasterize.
![](https://www.avivadirectory.com/photoshop/images/point_03.jpg)
Using rectangular marquee tool create a selection over “P”. Press Ctrl+Shift+J to cut and paste the selection in a new layer.
![](https://www.avivadirectory.com/photoshop/images/point_04.jpg)
Similarly cut & paste all the alphabets.
![](https://www.avivadirectory.com/photoshop/images/point_05.jpg)
Hide all alphabets except “P”.
![](https://www.avivadirectory.com/photoshop/images/point_06.jpg)
Select lower portion of “P” using rectangular marquee tool. Press Ctrl+Alt+J to cut and paste the selection in a new layer.
![](https://www.avivadirectory.com/photoshop/images/point_07.jpg)
Similarly split the other parts of “P” in separate layers.
![](https://www.avivadirectory.com/photoshop/images/point_08.jpg)
![](https://www.avivadirectory.com/photoshop/images/point_09.jpg)
![](https://www.avivadirectory.com/photoshop/images/point_11.jpg)
![](https://www.avivadirectory.com/photoshop/images/point_12.jpg)
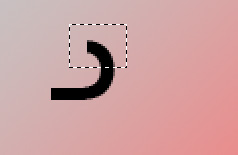
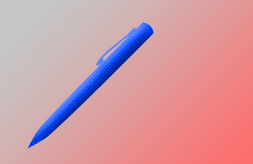
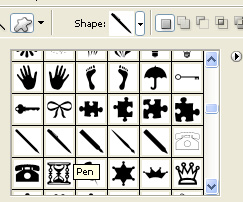
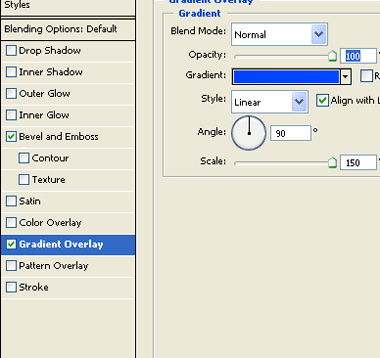
Create a pen using custom shape tool.
![](https://www.avivadirectory.com/photoshop/images/point_13.jpg)
Split the other alphabets in separate layers similarly.
![](https://www.avivadirectory.com/photoshop/images/point_14.jpg)
Double click the pen layer to open layer style window. Apply layer style with the settings shown.
![](https://www.avivadirectory.com/photoshop/images/point_15.jpg)
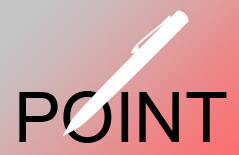
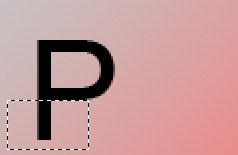
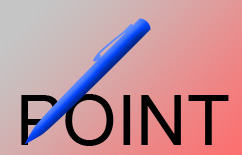
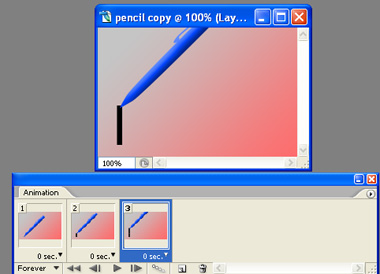
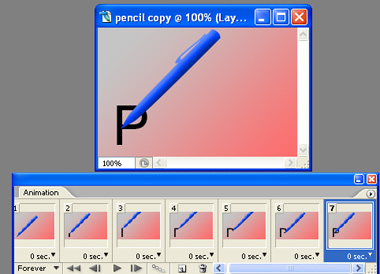
Place it at the bottom of first letter “P” as shown in the image below.
![](https://www.avivadirectory.com/photoshop/images/point_17.jpg)
Open animation window. For the first frame hide all text.
![](https://www.avivadirectory.com/photoshop/images/point_18.jpg)
Duplicate frame. Move the pen along with the flow of the text and keep unhiding the alphabet’s parts as you move ahead.
![](https://www.avivadirectory.com/photoshop/images/point_19.jpg)
![](https://www.avivadirectory.com/photoshop/images/point_20.jpg)
![](https://www.avivadirectory.com/photoshop/images/point_22.jpg)
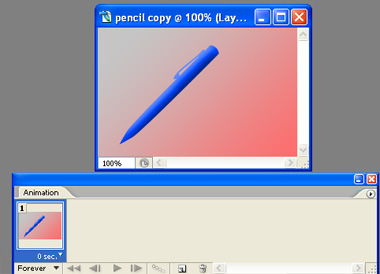
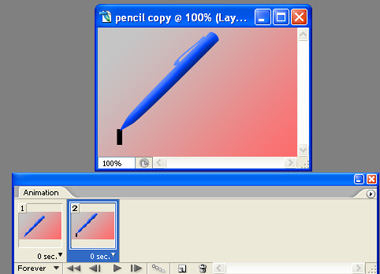
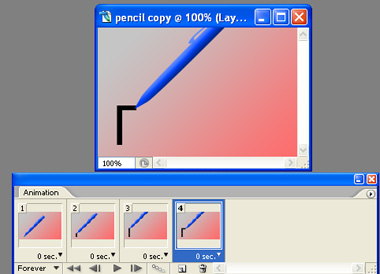
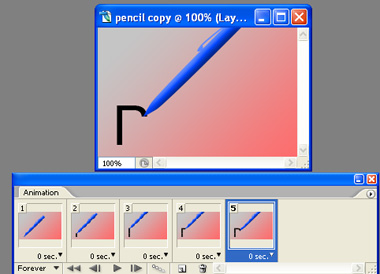
Duplicate the layer and scale it up.
![](https://www.avivadirectory.com/photoshop/images/point_23.jpg)
![](https://www.avivadirectory.com/photoshop/images/point_24.jpg)
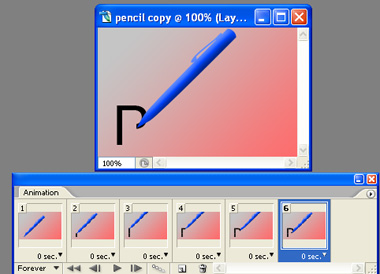
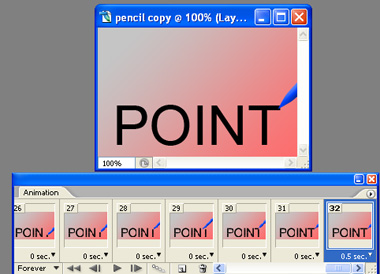
Adjust delay duration of the frames as per your speed requirement.
![](https://www.avivadirectory.com/photoshop/images/point_26.jpg)
Press Ctrl+Alt+Shift+S to save an optimized animated GIF.