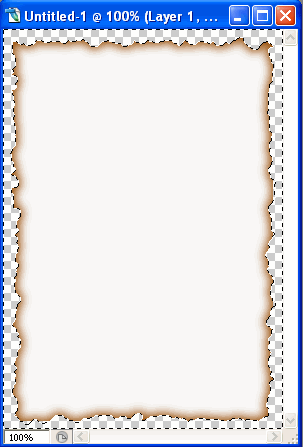
Burned Paper Effect
In this tutorial I will be teaching you how to create a Burned Paper as the preview below shows:
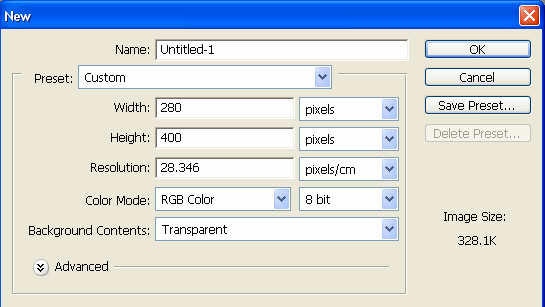
Create A new file Using These Settings
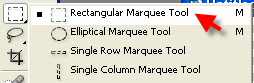
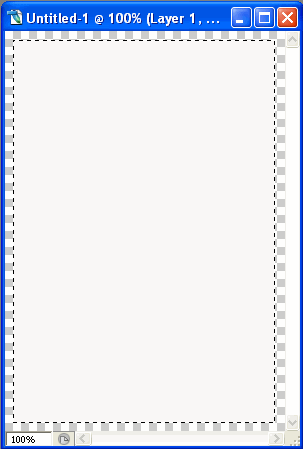
Then Create rectangle Using Rectangular Marquee Tool
Now you should have something like this:

Fill The rectangle with white colour using paint bucket tool

Now you should have something like this:
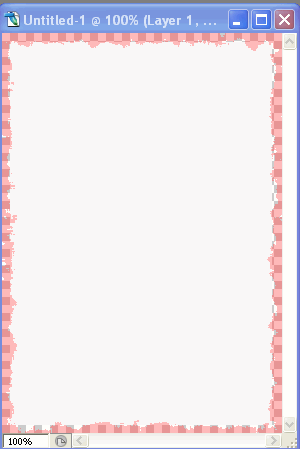
Click Q to create mask around the layer

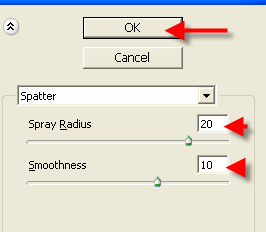
Then Go to Filter -> Brush Strokes -> Spatter
Set the Radius to 20
Smoothness to 10
Click ok
Now you should have something like this:
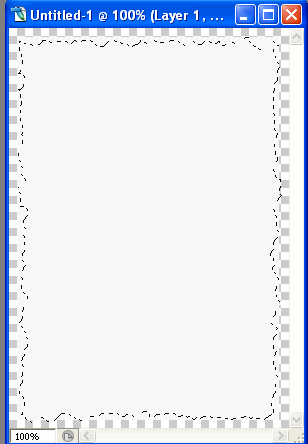
then click Q to remove the mask from the layer
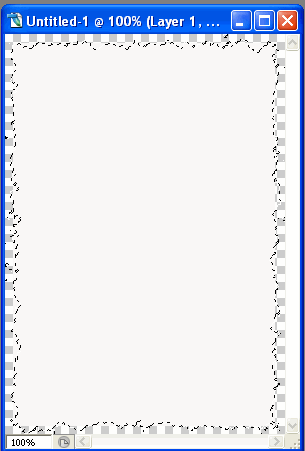
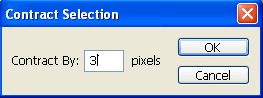
Then Go To Select->Modify->Contract
Now you should have something like this:
Then go to Select->Inverse ( Shift+Ctrl+I)
Then click delete button from the keyboard
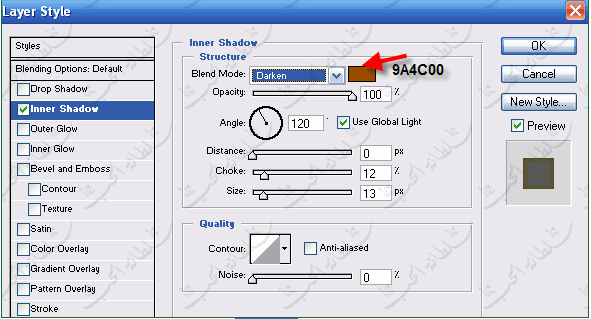
Okay so now go to blending options and apply these settings in the Inner Shadow area:
You are done!!! Congrats…