Creating Smilies in Photoshop
Creating smilies in Photoshop isn’t as hard as you would think; anyone can make them with just a little knowledge of how to go about it.
Step 1
The first job you need to do is study other smilies. Go to your favorite forum and right click some smilies. Right click them and save to your hard disk. Open up Photoshop and hit SHIFT+CRTL+M to open up Image ready. Open your saved smilie:
Step 2
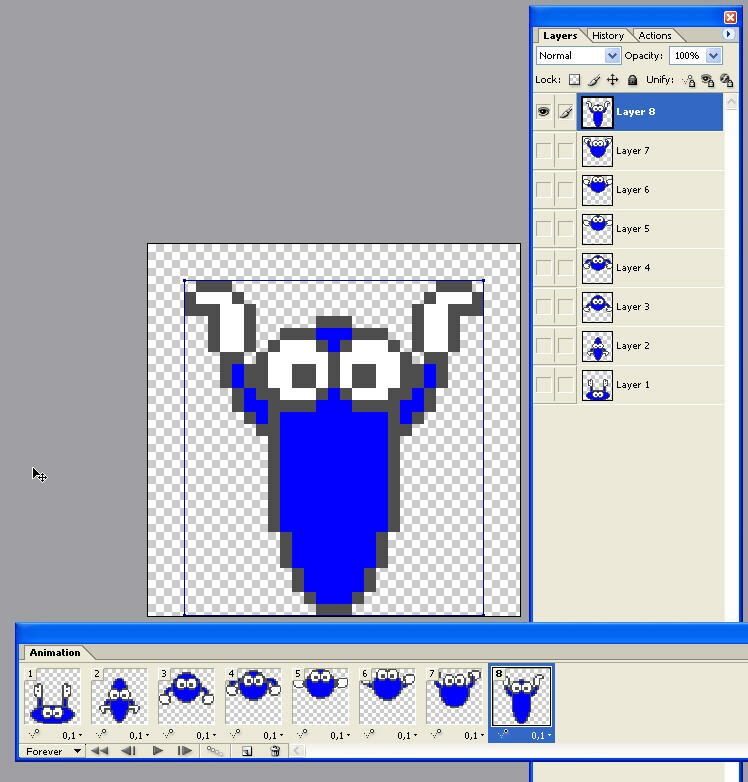
I’ve zoomed in to 1200% so you can clearly see the little blue critter. The vertical columns are the layers, and the horizontal ones the animation. You can see that there are only eight frames of animation. Rule number one in smilie creation is:
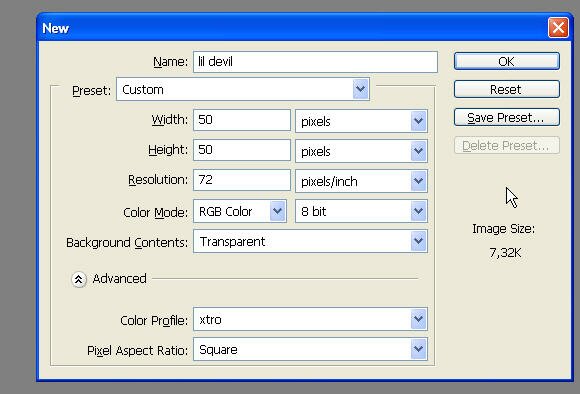
Keep the file size LOW. Smiles are typically 40×40 pixels and have 4 to 10 frames of animation. Any more and the file size will become too big. Always keep this in mind when making them. I always start my smilies the old fashioned way: on paper in a corner in a flip book. Here you can work out the mechanics of the animation. In this tutorial, I’m going to be making a little devil jumping up and down. Not terribly original I know, but he will suffice. Go back to Photoshop and CRTL+N to open a new document. Make the width and height both 50 pixels and set the background to transparent:
Step 3
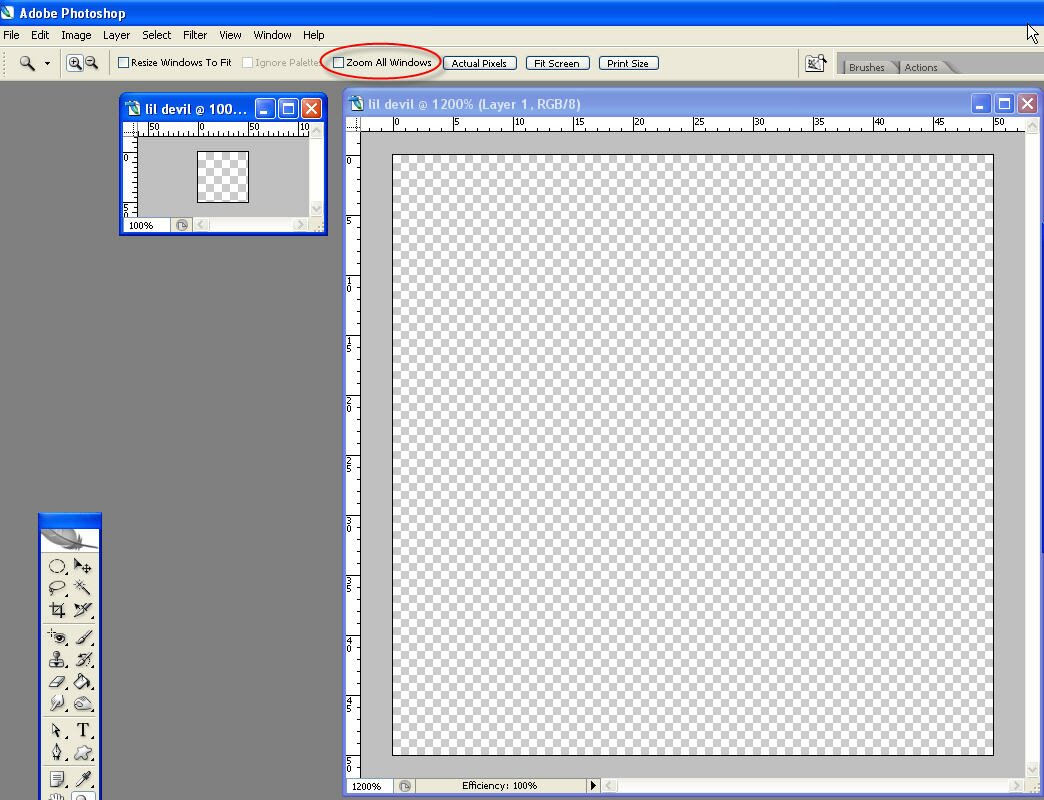
Now here’s a great trick that will really help you make smilies in Photoshop. Go Window->Arrange->New Window for lil devil. Now you have another document. It’s the same one and any changes will be made I both. Hit ‘Z’ for the zoom tool and zoom in on one. Make sure ‘Zoom all windows’ is NOT checked.
Step 4
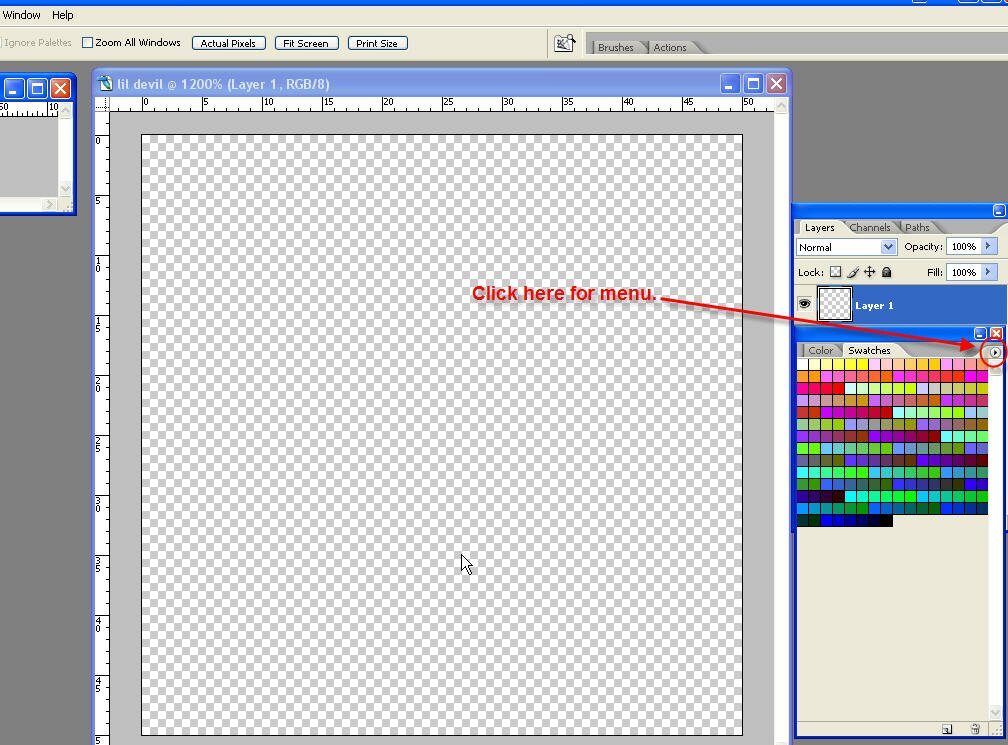
Go window->Swatches to bring up your colors. Click the little black triangle and choose ‘Web safe colors’.
Step 5
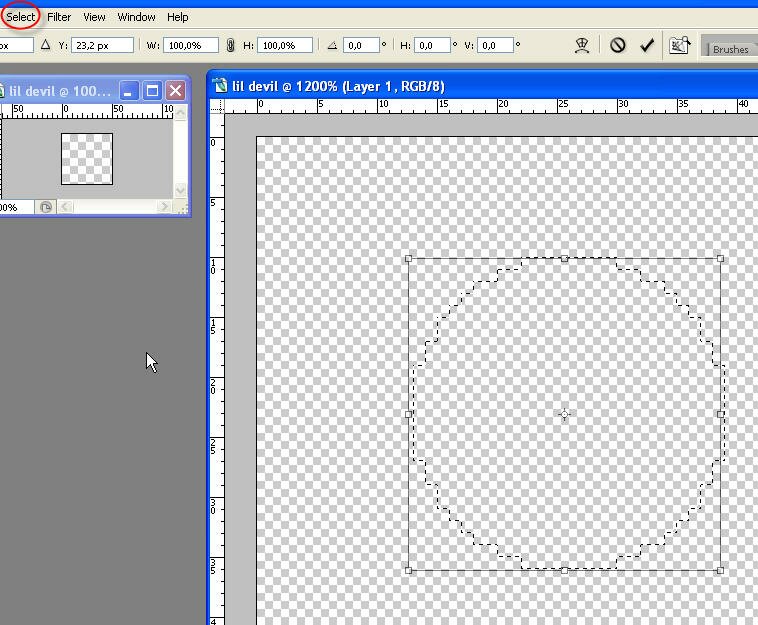
Click and hold the Marquee tool until it rolls out and you see more options. Choose the Elliptical tool (the round one). Hold SHIFT and drag out a perfectly round circle. Now maybe it’s not quite where you want it to be, so go Select->Transform Selection. Now you can position it correctly.
Step 6
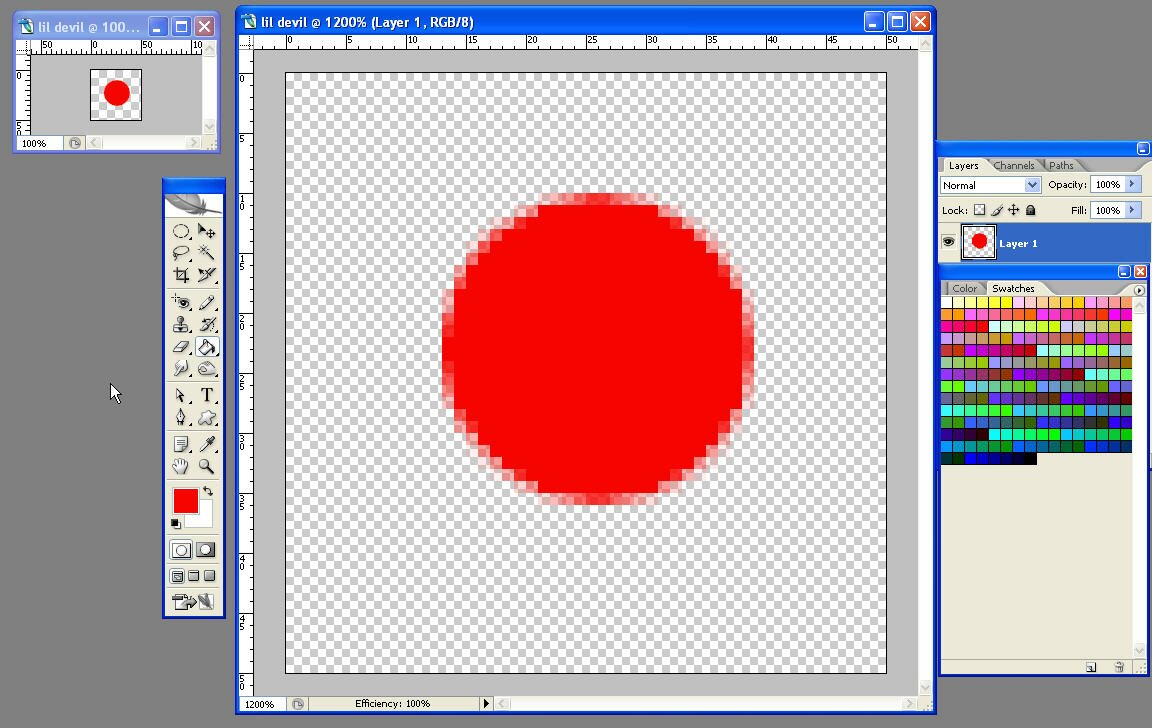
Click one of the colors in the swatch (I’ve chosen red) then hit ‘G’ for the paint bucket. Click inside the circle to paint it. Notice the smaller document also changes. This is how the smilie look when finished.
Step 7
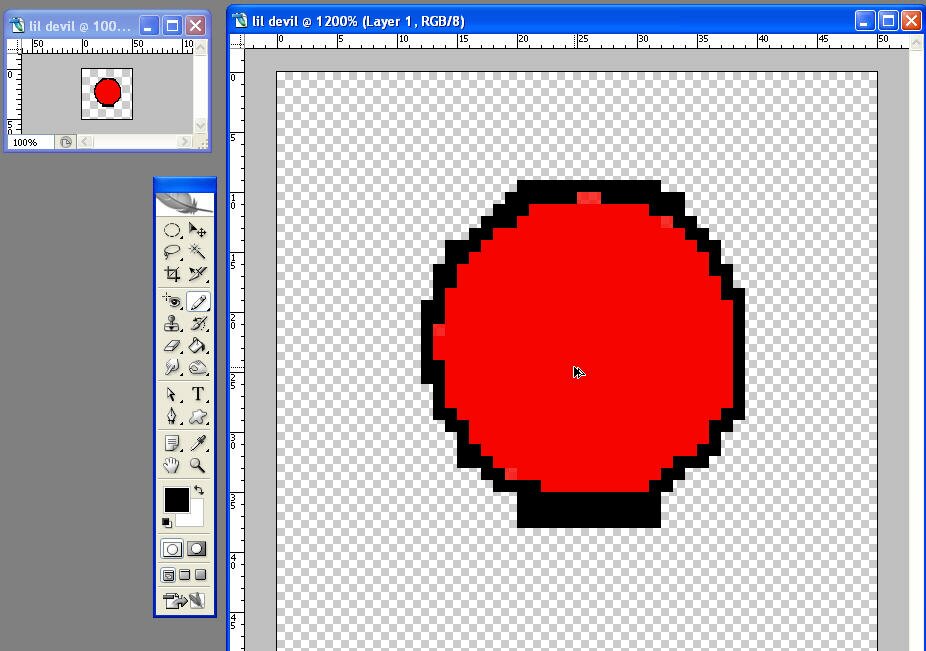
Change the color swatch to black and click and hold the paint brush tool. After what seems like an eternity, some new tools appear. You need the pencil tool. Now we are going to put black all around the edge of the circle. Press CRTL+D to deselect and start painting a pixel at a time. We are using the same layer, by the way.
Step 8
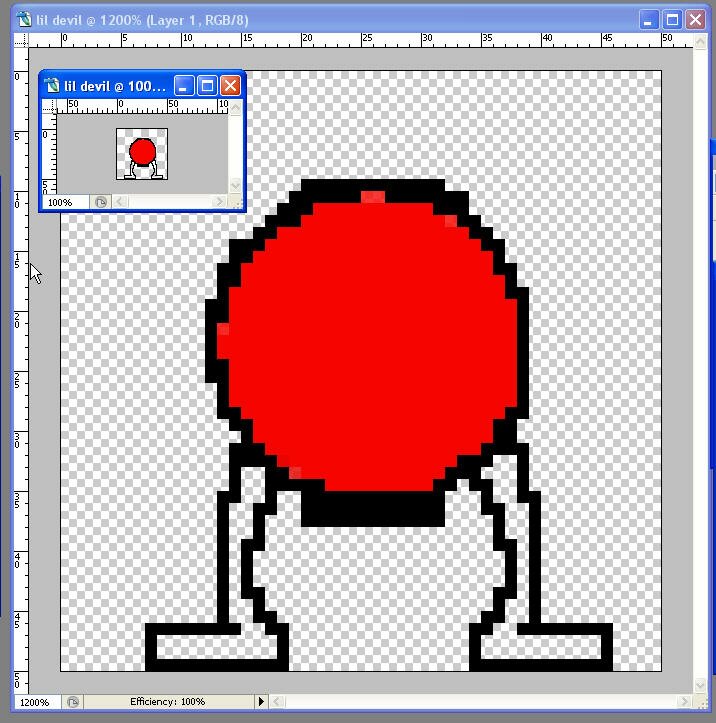
Now you get the idea. Paint the legs in. I used the lasso tool to select the right leg, then I held ALT and moved it to make a copy. Then I hit CRTL+T and right clicked and chose ‘Flip Horizontal’.
Step 9
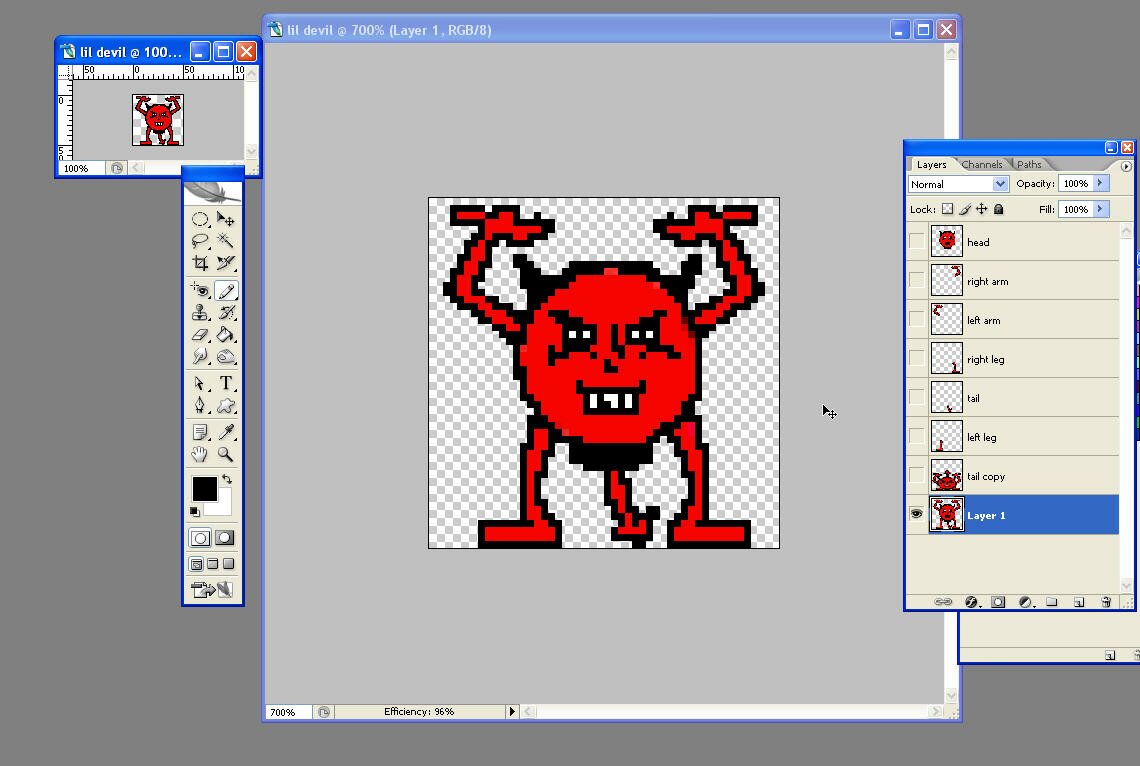
Fill the legs with red, make the arms, and finished the face. Add a tail and you’re done. This is a very simple example without any highlights or shadows. The trick of getting the right shapes is to keep an eye on the smaller document. Don’t forget the eraser tool ‘E’. In the options bar across the top of the screen there is quite an important option: Change the eraser to a block. This erases blocks at 100% hardness.
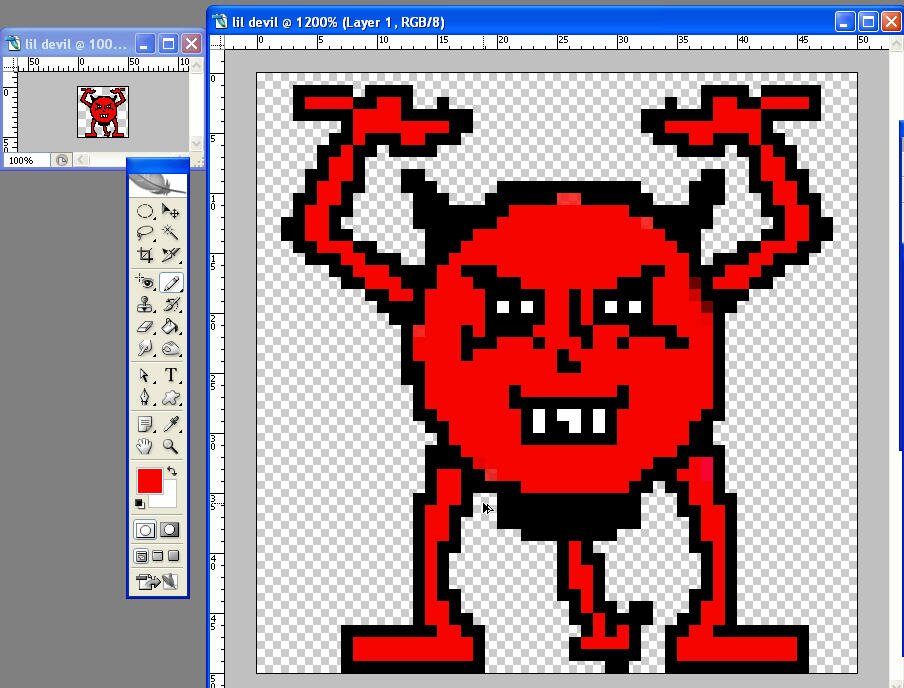
Step 10
That’s our first frame of animation done. In the layers panel, drag it down to the ‘create new layer’ icon.
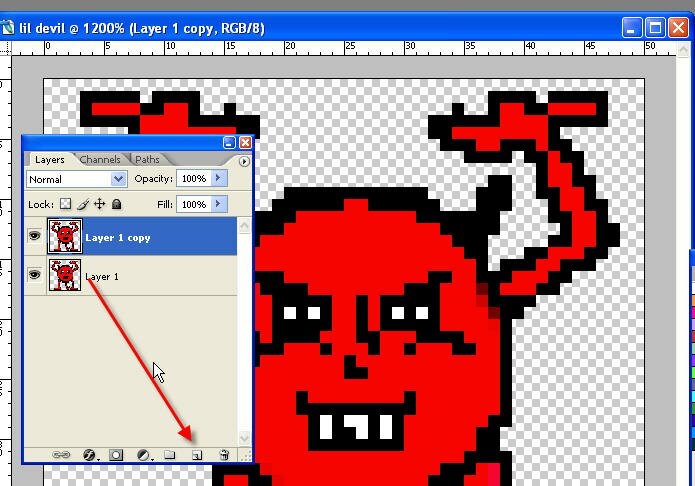
Step 11
We don’t want to see the bottom layer completely, so lower the opacity to something like 30%.
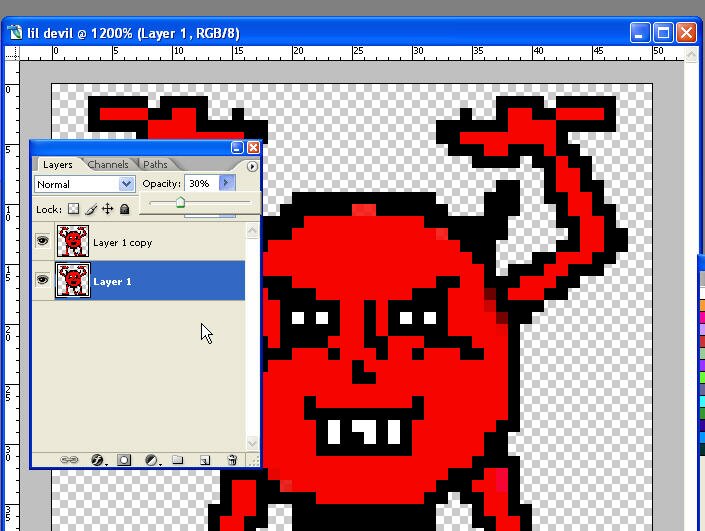
Step 12
Now for the hard bit. Ready? Take the lasso tool ‘L’ and carefully drag it around the body. When you have it selected, CRTL+J to paste to a new layer.
Step 13
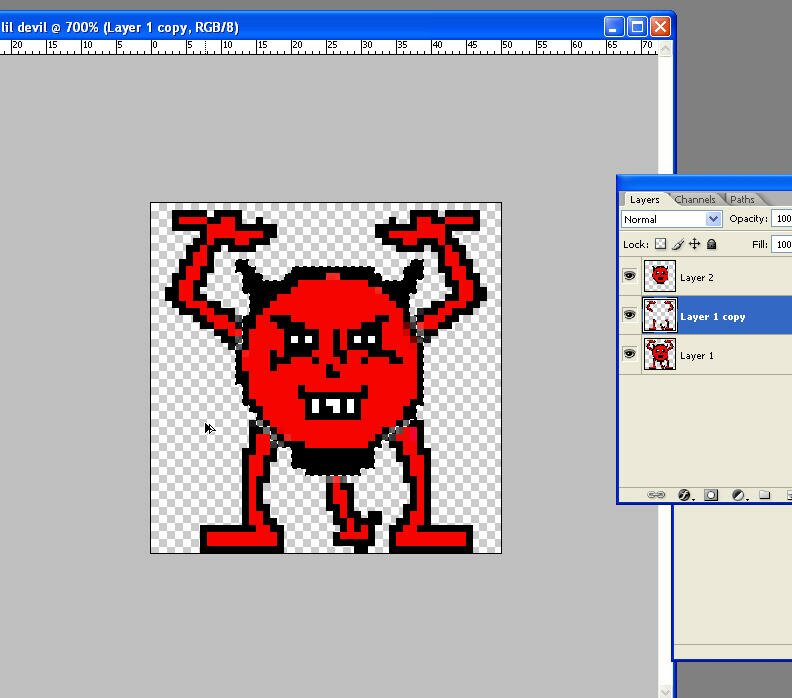
Do the same for the arms, legs and tail.
Step 14
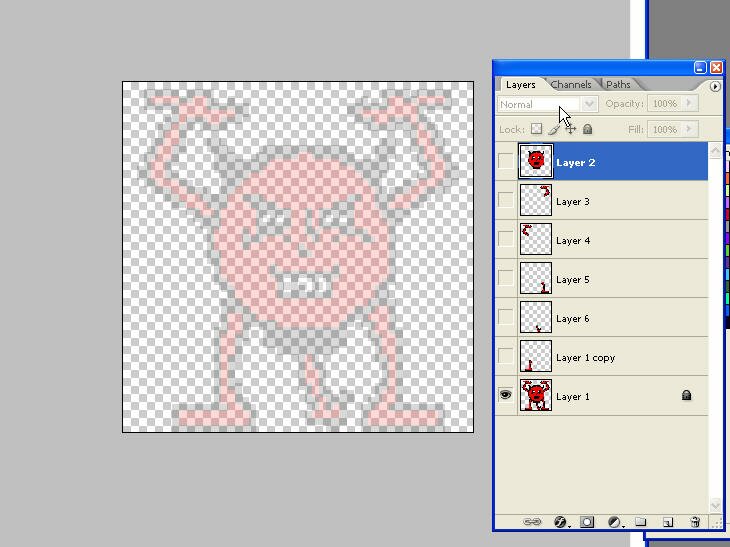
Make a copy of the head layer. Move it down and CRTL+T to enter transform mode. Scale, move and rotate it to where you want. Notice I have re named the layers to make it a bit less confusing.
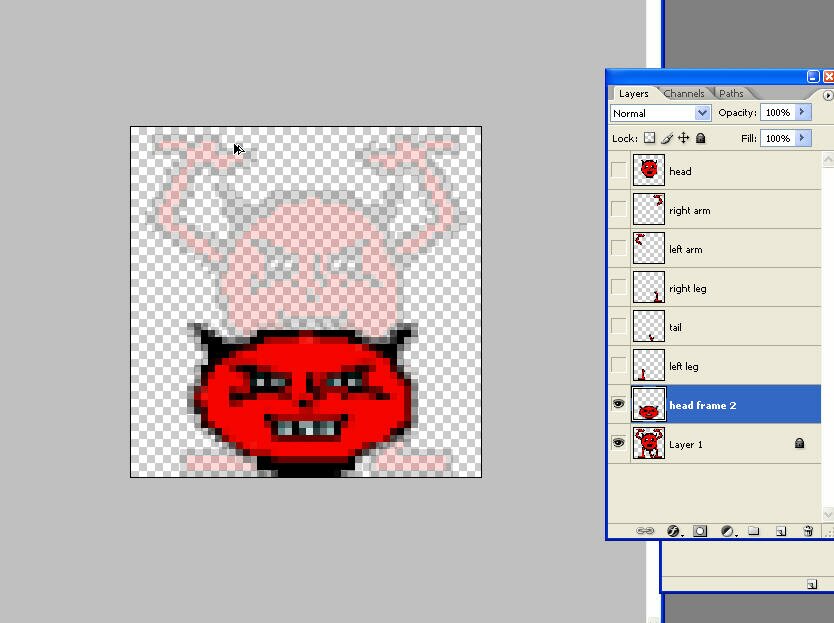
Step 15
Repeat the process with the other pieces. When you have the frame 2 layer the way you want, merge them together by hitting CRTL+E. Hide the layer and increase the opacity in layer 1 back to 100%. SHIFT+CRTL+M to move over to Imageready.
Step 16
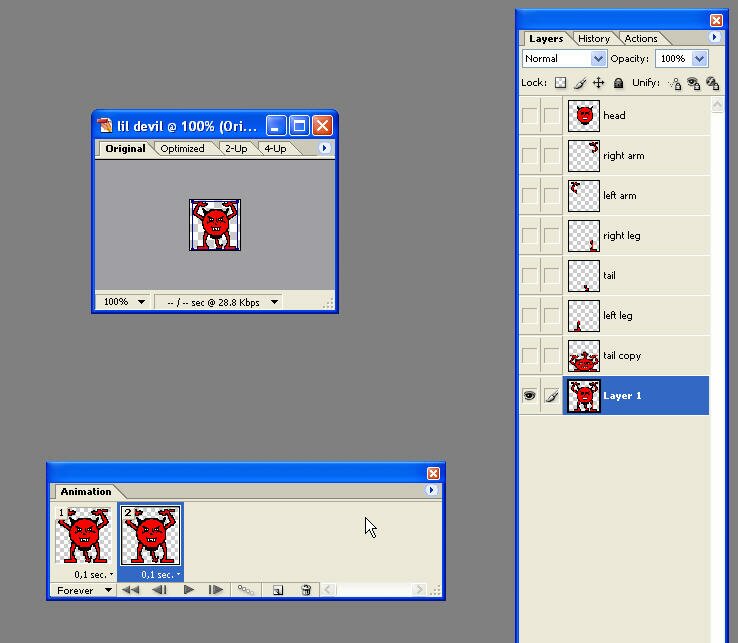
Once we get to Imageready, press the little black triangle for more options. Choose ‘New frame’. Now we have two frames with the same animation.
Step 17
Making sure frame 2 is highlighted, go to the layers panel and hide the first layer. At the same time unhide the second layer.
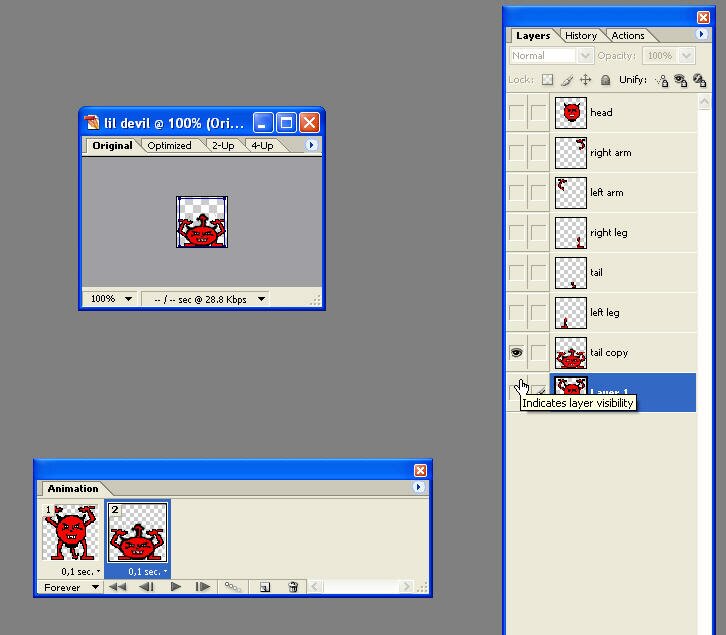
Step 18
When you press play it might look too fast. Easy remedy, just click under the animation frames to get a drop down menu of possible delay times. 0.1 is usually enough. Then just save as a GIF and you’re done.
