Custom Photoshop Grunge Brushes
In this tutorial we are going to show you how to create your own grunge brushes in Photoshop, as the preview below shows:

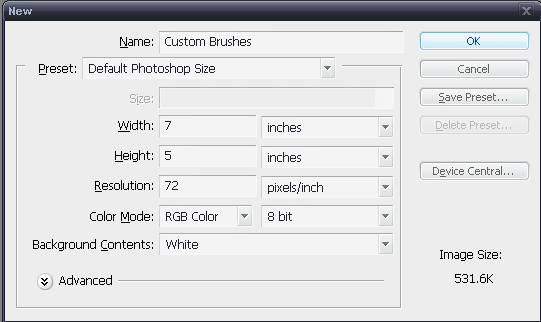
With that being said go ahead and open up a new document (ctrl N) (cmd N on a Mac). Choose default Photoshop size and click ‘ok’.
Now that we have a new document open go to google images and search for a grungy looking picture. Here is the link for the picture I am going to use in this tutorial (http://www.imjtk.com/media/GrungeGirl.jpg). Save it somewhere you can easily access it.
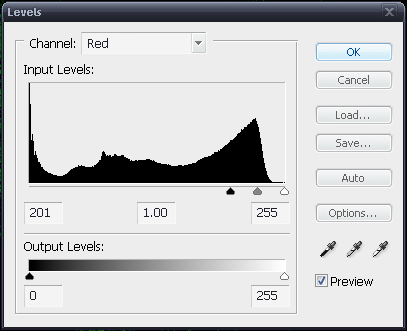
Now we are going to import this into our document. Click File > Open find your picture file and click ‘ok‘. Once it is opened duplicate the layer by clicking layer, duplicate layer. You will get a pop up box, name it grungebrush and click ok. You can now delete the other layer. Once you have done that go to Image > Adjustments > Levels. This will bring up the adjustment levels. Where it says channel click the arrow and select “Red”. Fill in the numbers as you see below in picture a. Switch back to “RBG” in the channel picker. Fill in the numbers as seen in picture b.
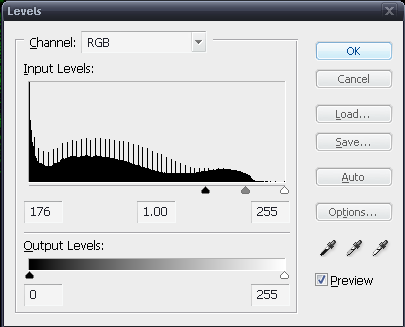
If you move the black slide to the right on the RGB you get a different sized and different type of brush you can play around with the input levels to fit whatever you like. This is what you should have so far:

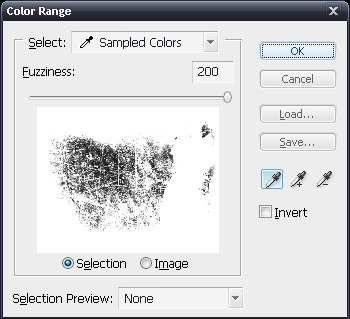
Now go to Select > Color Range. Pick a color from the black around the outside and set the fuzziness to 200. (See picture below)
Almost done, click ok, and then delete the selected part of the picture. You will notice that all the black is gone and you are left with the green. To touch it up a bit delete the green to the right that is not attached to the big green blob. (See picture below)
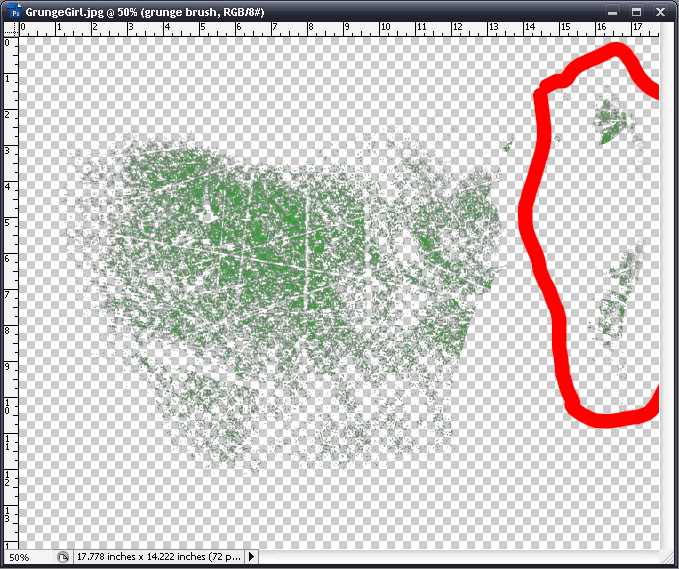
Delete the stuff inside the red using the eraser tool. Once you’ve done that you’ve got your brush finished now we have to save it. Choose edit, define brush preset. Name it custombrush1 and click ok. Now you have successfully created your own brush (I hope). But how do I use it? You ask. Get your paintbrush tool, go to the top tool palette where it says brush click the arrow scroll down and your brush should be the last one. Now you can use that brush to create whatever you can think of.