Cute Valentines Text and Graphic
Learn how to make a cute and simple Valentines graphic.

Step 1:
First start by making a new document, if you plan on making this for print, you’ll want to use a high DPI and size. I just used the default DPI/Resolution and a size of “400 x 200″ pixels.
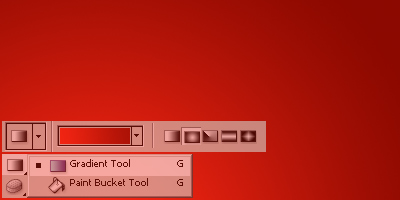
Fill the background with a “#F12412” to “#8C0900” Radial Gradient.

Step 2:
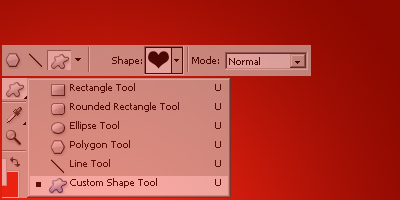
Get the Custom Shape Tool out then find the “Heart Card” shape.

Change your Foreground color to white (#FFFFFF) then on a new layer make a bunch of random-sized hearts.
Note: Hold shift to make the shape perfect.

Right-click the hearts layer and go into the Blending Options, use the following options/settings:
Your hearts should look like this now:

Step 3:
Now we need to add our text. First of all get the Horizontal Type Tool (the regular one) and write out your text in white.

The font I used above is called ‘More Enchanted Prairie Dog’, you can download it here from DaFont.
Go into the Blending Options for your text layer and apply the following options/settings:
Not much difference, but it gives it a bit of a nicer feel:

Now if you want you can add some post-effects to the image. Other than that, you’re done.
