Glossy Web 2.0 Button
Learn how to make a nice Web 2.0 style Glossy Button using Layer Styles, also how to make a rollover.
1. Make a rectangle with the Rounded Rectangle Tool (any color) and right click and Rasterize it.

2. Open the Layer Style and add these values:
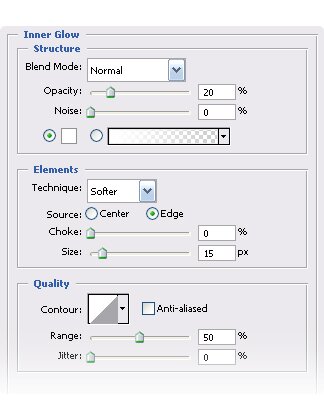
3. Inner Glow
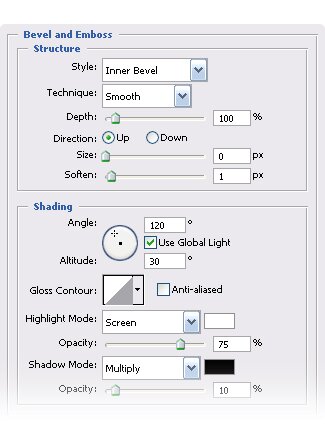
4. Bevel and Emboss
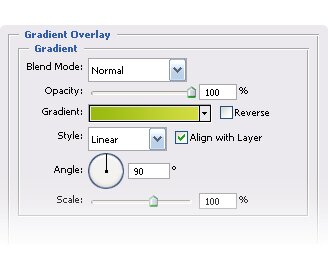
5. Gradient Overlay: #99b910 to #d1dc42
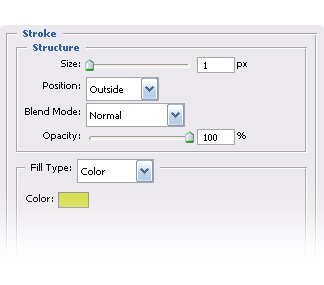
6. Stroke: #d1dc42
7. You should have something like this:

8. Over a New Layer, make a selection with the Elliptical Marquee Tool as shown below:
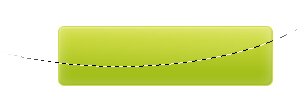
9. Make a Radial Gradient white to transparent and change the mode to Soft Light and Fill 40%.
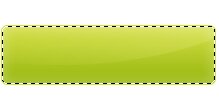
10. Right click over the thumb while pressing Ctrl and go to Select/Modify/Contract and put 2 px, then go to Select/Inverse and press Del once. Ctrl + D to select.

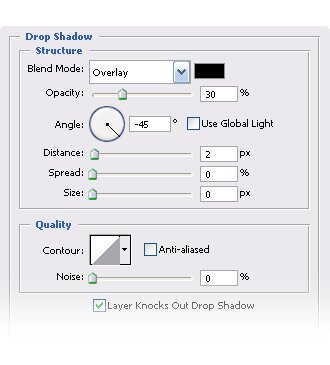
11. Add text using Segoe 25 pt.

12. Then add it a Drop Shadow.
13. Now we’re going to make a Rollover using the same button, duplicate it and change the Gradient Overlay: #2a2e2f to #4a5052 and the Stroke #454b4d. Note: If you want to have both separete, copy all the layers and put them each one into a group.
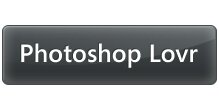
14. And you’re done.