How To Draw Hands
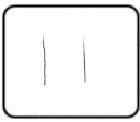
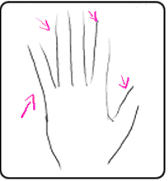
Step 1:
Draw a couple of squiggly vertical lines making sure you leave the one on the left longer than the one on the right.
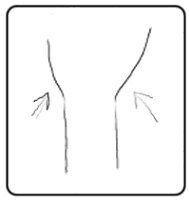
Step 2:
Now you want to add sides to the actual hand on top of the wrist we jus drew in step one. Since were drawing a left hand here you will want to make the line on the left sort of diagonal going outwards until you hit a nice resting point and make it go straight up for a short distance. On the right you will be drawing a thumb, so the line will need to bow outward and come to a point facing straight up.
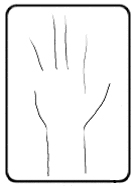
Now here comes the hard part. You need to draw the outside of the fingers; so all our lines now are going to become the right side outline of the fingers. Starting at the thumb, draw a line that goes down to the beginning of where you left off with your left side palm. Next continue to draw lines going straight down until you get to the smallest finger. It should look something like the picture below. Make sure you don’t center them or put them to close together.
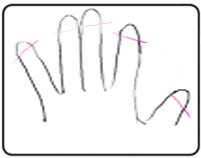
All we are doing here is making a little upwards swoop towards the thumb at the bottom of the pointer finger. You can see that it is now starting to look a little bit more like a hand. Make sure you don’t make the angle too deep or it’s going to look like your thumb is too small.
In this step we are going to draw the other side of the fingers. Be careful with this part because you may draw the lines to far apart and make the fingers look to wide. Start with the curve we just drew next to the thumb and extend it upwards in a curve that points towards the pointer. The next step is to connect the palm to the smallest finger. I left out the middle finger by accident here. This shows how difficult it is to make all the fingers the same size and proportion. You can add the other finger onto the hand in the next step.
In this step we are going to draw on the tops of the fingers. I made the tops of my fingers quite fat looking but its up to you how you want your fingers to look. Make sure you take your time doing this part.
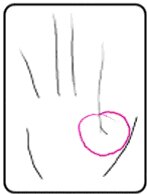
In this section all I have done is simple line correction. You don’t have to do this step if you’re just doing this by hand, however as this is a Photoshop tutorial I’ve created a separate layer and used another colour to fix all the fatter lines that don’t look right on the drawing. You can use the pen tool for this section if you have shaky hand syndrome. Leave the existing layer, and insert a new one. Now start penning away!
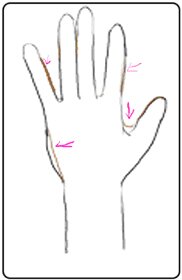
I used pink so that you can see the difference between my shaky hands and the wonders of the pen tool in Photoshop. Note that I followed my correction lines when I traced over everything to get rid of the ‘fat hand’ look. After this you will want to delete the layers under your newly penned hand so it doesn’t look messy.
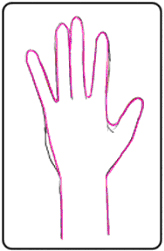
This is the final step! All you want to do here to finish the hand drawing off is take the eraser tool and taper off some of your rough lines so that the fingers don’t have that ‘pointy’ look. In some cases you may actually want to leave this incase you want to add fingernails later on to your drawing.
