Image Slideshow
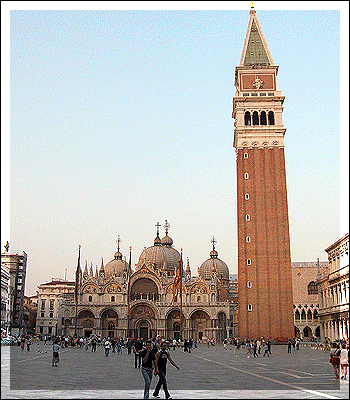
The trick that we will be performing today is creating a simple slideshow with a nice fade effect included. Each time the photo switches to a different one, the old one will fade away like shown above!
Step 2:
Start off by finding numerous pictures (3+) to include in the slideshow. Make sure they all fit the same canvas so they arent going off the edges or anything. Mine is all about Italy as you may see. After you have gathered all of your images, hit File > Edit in Imageready.
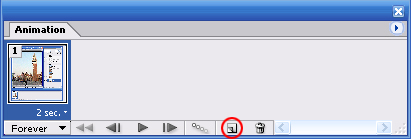
Once you are in Adobe Imageready, you will need to make sure you small animation window is on there (near the bottom). If it isnt, go to Window > Animation. Now, like seen above circled in red is a little icon. Click that to create a new layer of animation.Click here to view how to make the animation layers.
Step 4:
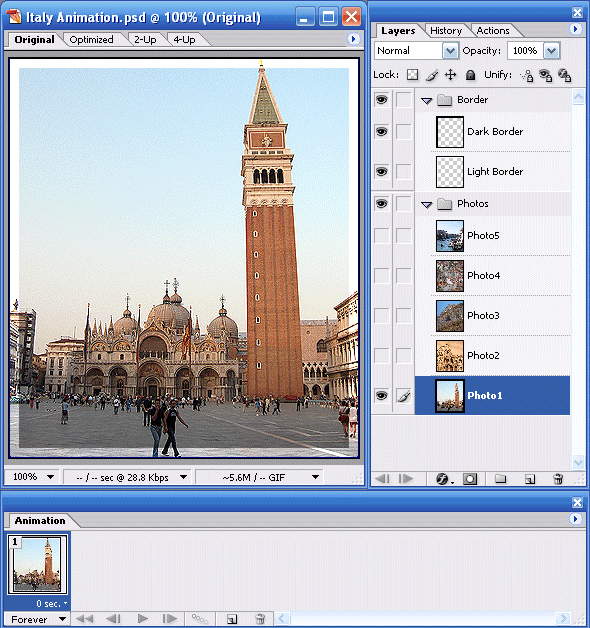
Click the link above to view a 5 second clip on how to make the animation layers. Each time you make a new layer in the animation, hide one of the layers in your photos and then make another one appear. Very simple!
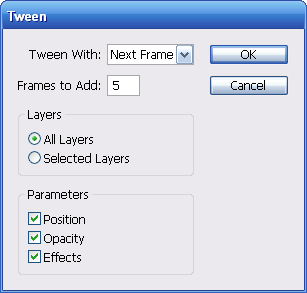
Now it is time to give the animation a little bit of effect. Select the first animation layer and hit the Tween tool like circled in the above image. A window will pop up. Use the options below.
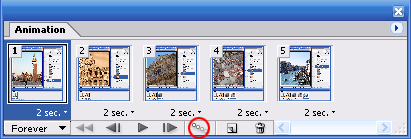
After you have done step 5 once, you will notice more animation windows appear. Now go to the 7th animation window and tween it again with the next one. After that, go to the 13th animation layer and tween that one. Then the 19th one. Then go to the 25th one and this time change the “Tween With” to First frame.Step 7:
Now that you have animated everything, go ahead and press play on the animation box for a preview. If it looks good, then its time to save. If theres some bugs in it, reread the tutorial or contact me for more help.
Step 8:
Time to save the creation now. Go up to File > Save Optimized As. Then save type as GIF. Hope you learned something from the tutorial, good luck working on it! The result again is below!