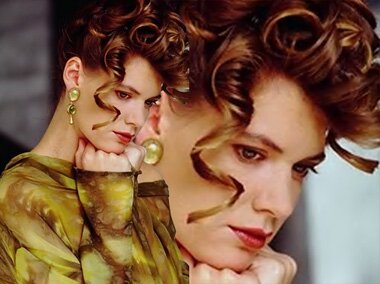
Movie Poster Effect
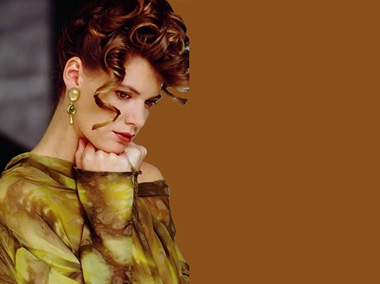
Start by opening an image of model / actor.
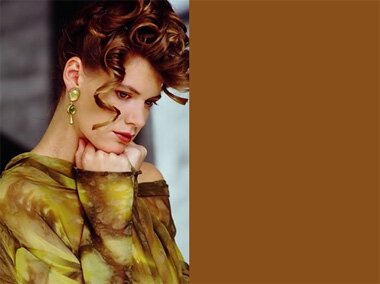
1. CREATING PARTIAL CUTOUT
Using polygon lasso tool select the background on right hand side of the model. Press Delete.
Duplicate the layer and scale up significantly. Move this layer below all the layers in layer order in layer palette.
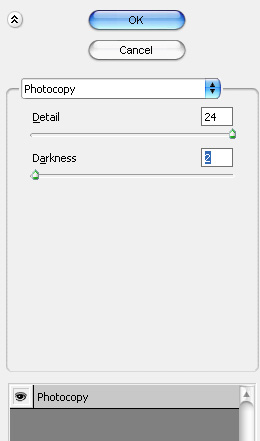
2. CREATING HAND PAINTED POSTER EFFECT
From “Filter” menu select “Sketch>>Photocopy”. Apply settings as shown.
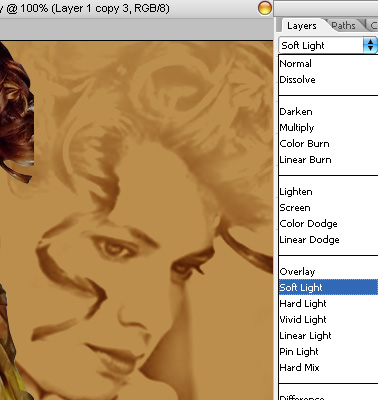
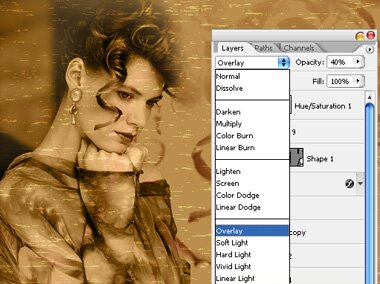
Change the layer mode to “Soft Light”.
Using eraser tool with soft brush settings erase the hard edges of model cutout.
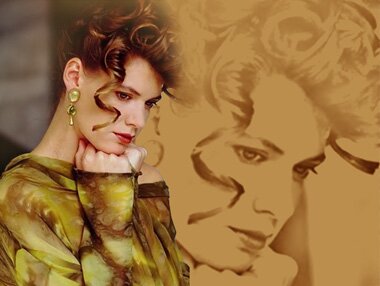
Change the layer mode to “Luminosity”.

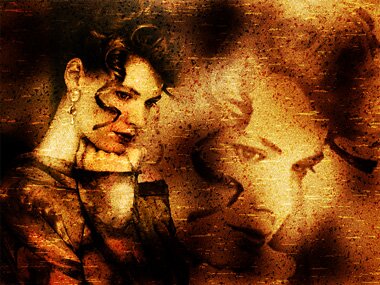
3. APPLYING TEXTURE TO CREATE VINTAGE LOOK
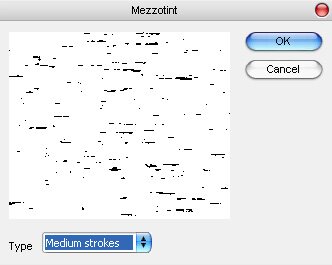
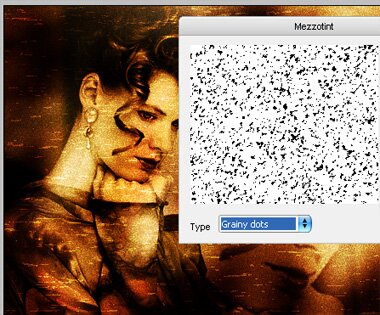
Press Q to enable quick mask. From filter menu select “Pixelate>>Mezzotint”. Apply settings as shown.
Press Q again to disable quick mask.
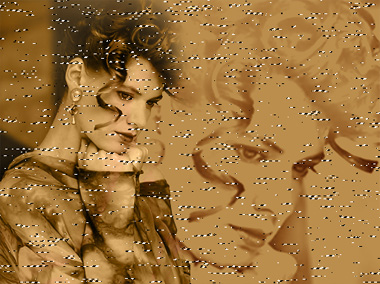
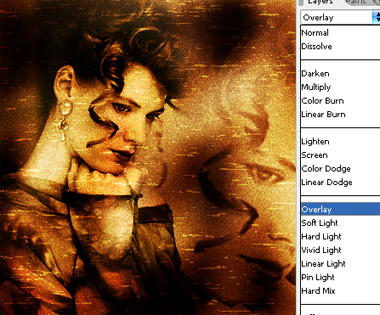
Create a new layer and fill it with white color. Change the layer mode to “Overlay” and opacity to 40%.
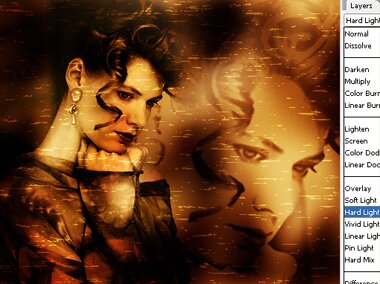
Select and merge all layers. Select burn tool and apply randomly.
Duplicate the layer and change the layer mode to “hard Light”.
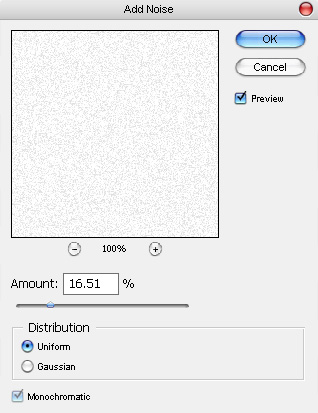
As we applied mezzotint using quick mask similarly we’ll apply noise using following settings.
Change the layer mode to “Overlay”.
Press Q to enable quick mask. From filter menu select “Pixelate>>Mezzotint”. Apply settings as shown.
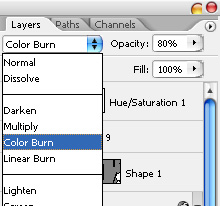
Create a new layer and fill it with white color. Change the layer mode to “Color Burn” and opacity to 80%.
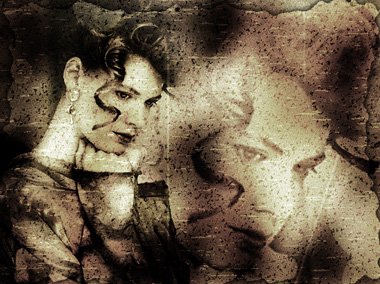
Select and merge all the layers. Using polygon tool create a torn paper style selection on the edges of the image. Press Ctrl+J to copy paste the selection in a new layer.
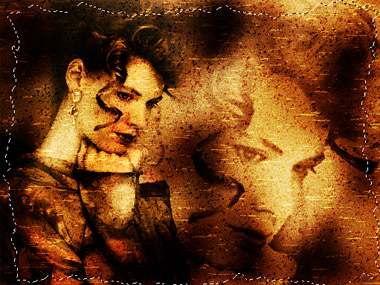
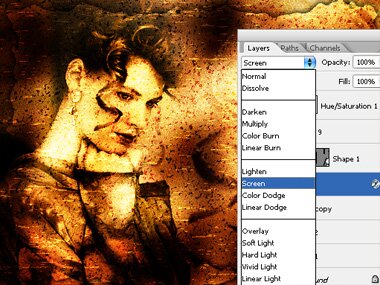
Change the layer mode to “Screen”. Apply some drop shadow.

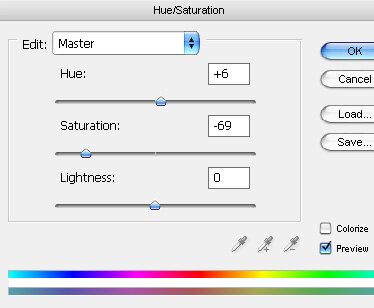
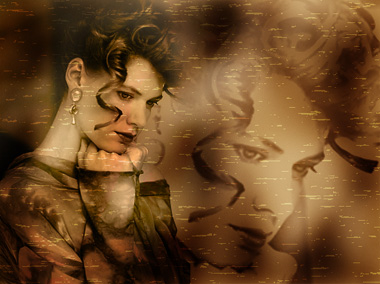
4. REDUCING SATURATION TO GIVE A WASHED OUT LOOK
From layer menu select “New adjustment layer>>Hue/Saturation”. Apply settings as shown.