Skyline Silhouette Header
In this tutorial, we will be creating a Skyline Silhouette Header like below:

Things You will Need:
-Adobe Photoshop
-Vector Package 1 (click here to download)
-Custom Shapes Package 1 (click here to download)
-How to download brushes/custom shapes & upload them to Photoshop
Opening New Document
Let’s open up Photoshop if you haven’t already…
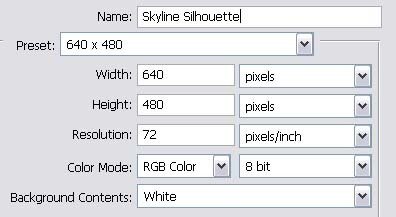
Go to File > New… and these are the settings I used:
Background Gradient
I added a gradient of Red > Orange to my background to make it look like a sunset….

Inserting Skyline Silhouette Custom Shape
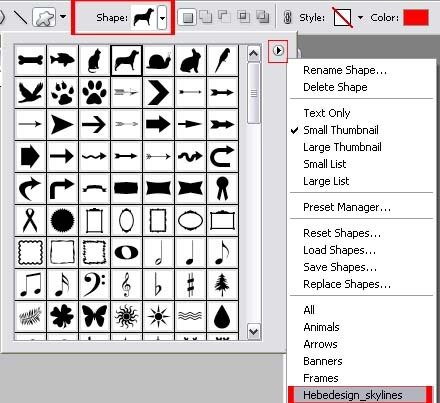
Once you’ve downloaded the Skyline Silhouette Custom Shape and uploaded it to Photoshop CS2 go to Layer > New > Layer and then go to Custom Shape Tool > Shape > Hebedesign_skylines (Figures Right and Below)

Now select which Sykline Silhouette you would like to use:
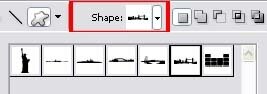
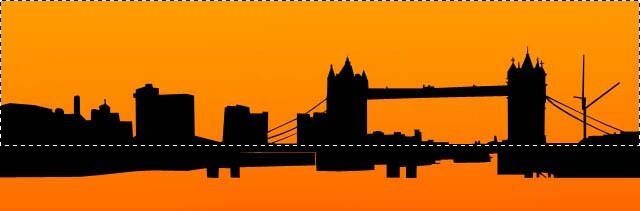
We are now going to draw the Skyline Silhouette on the top of the canvas … ( I chose London Bridge)
Next, in a new layer make a selection on the top half of the shape (Figure below)
Easy so far? Good …
Adding Vector Burst Background (Vector Package 1)
Once you’ve downloaded Vector Package 1 we can start inserting it behind the silhouette!
In that same layer, with that same selection lets go to Brush Tool > Brush > and choose Vector2_By_PhysicalMagic. (Figure below) Once that Brush set is selected, choose a brush you want to you. (I chose Vector 4)
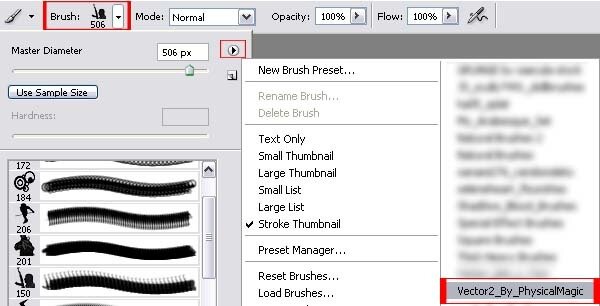
Once you have selected the brush you want, let’s apply it to the canvas! Find the correct positioning of the brush, color, and size. (I placed it right in the center, used bright yellow, and kept it at the sample size)
Here’s a nice big screenshot of what I have so far!

This so far would have led you to the Skyline Silhouette Web Header.
Adding Template Navigation
Now in new layers I added a simple yellow text navigation